
Last updated November 15, 2026
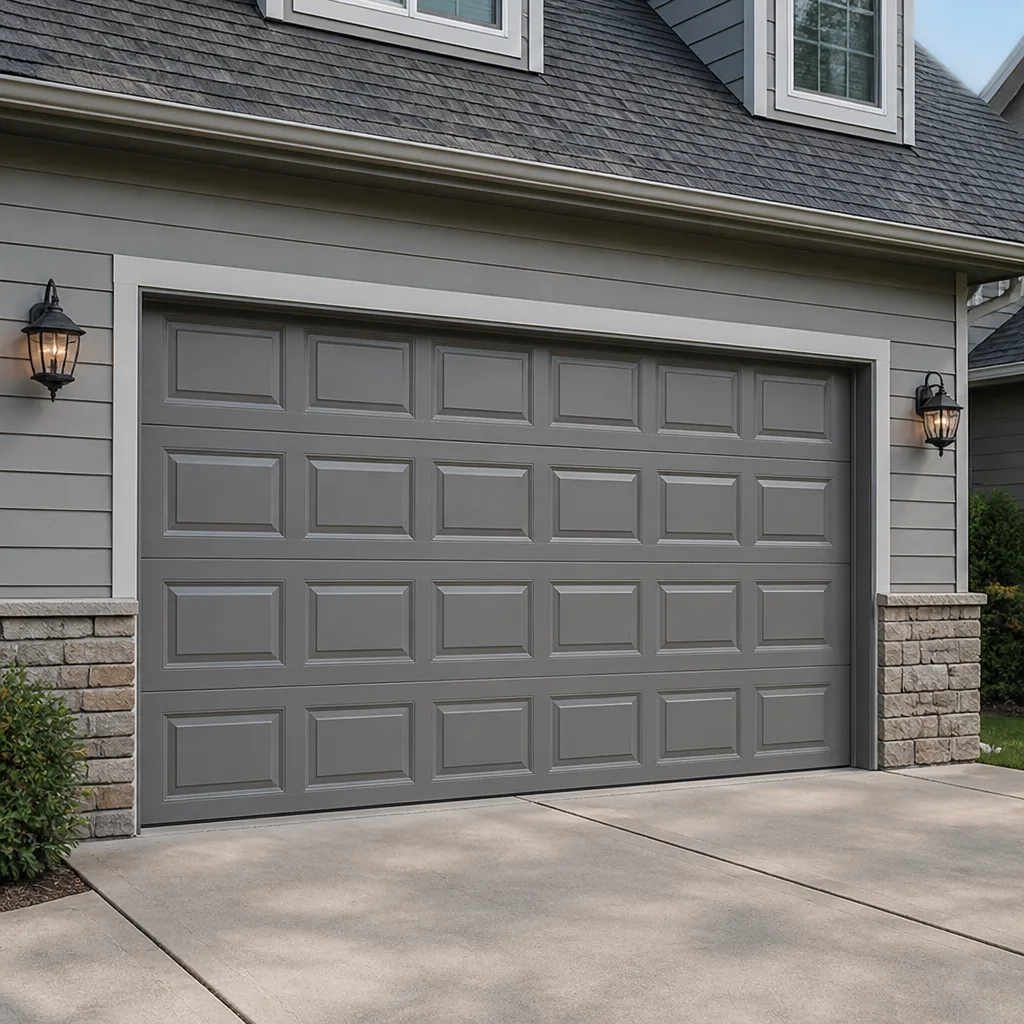 Raised-panel steel
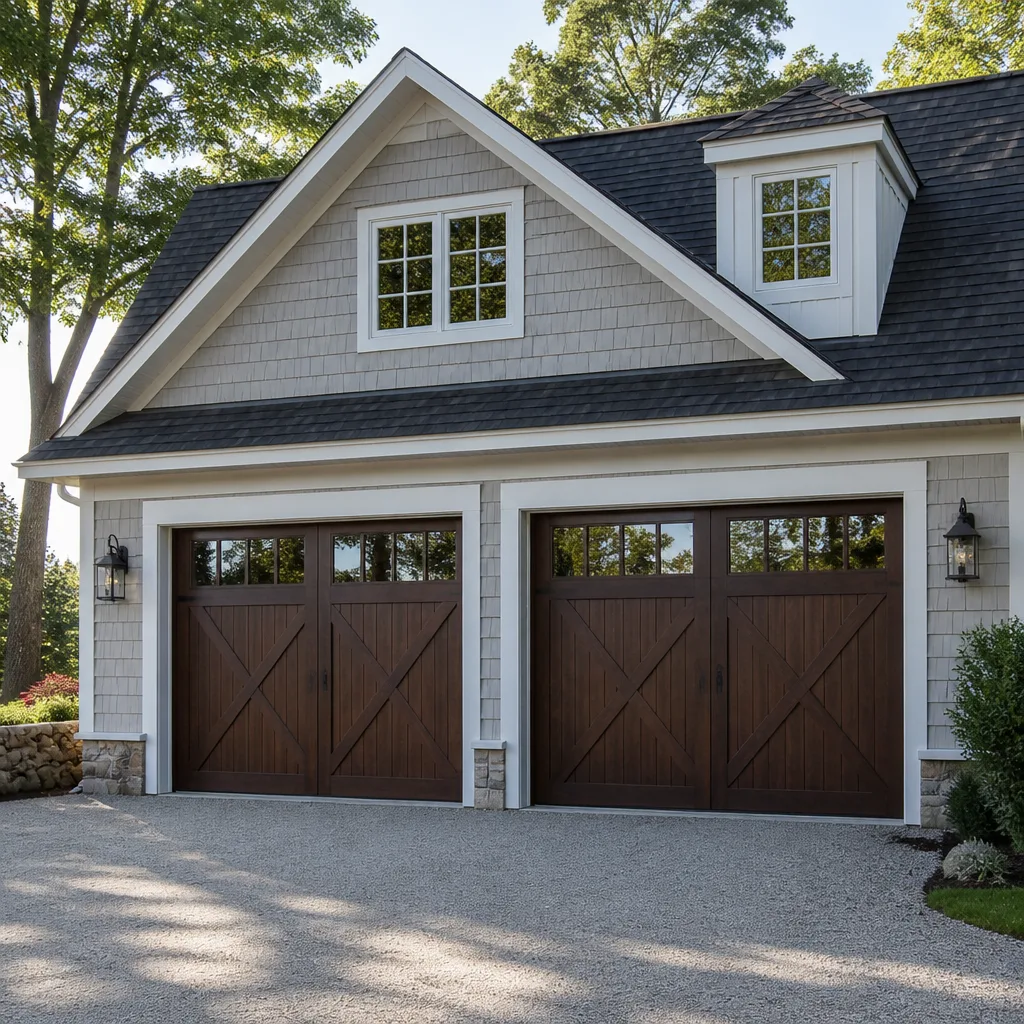 Carriage house
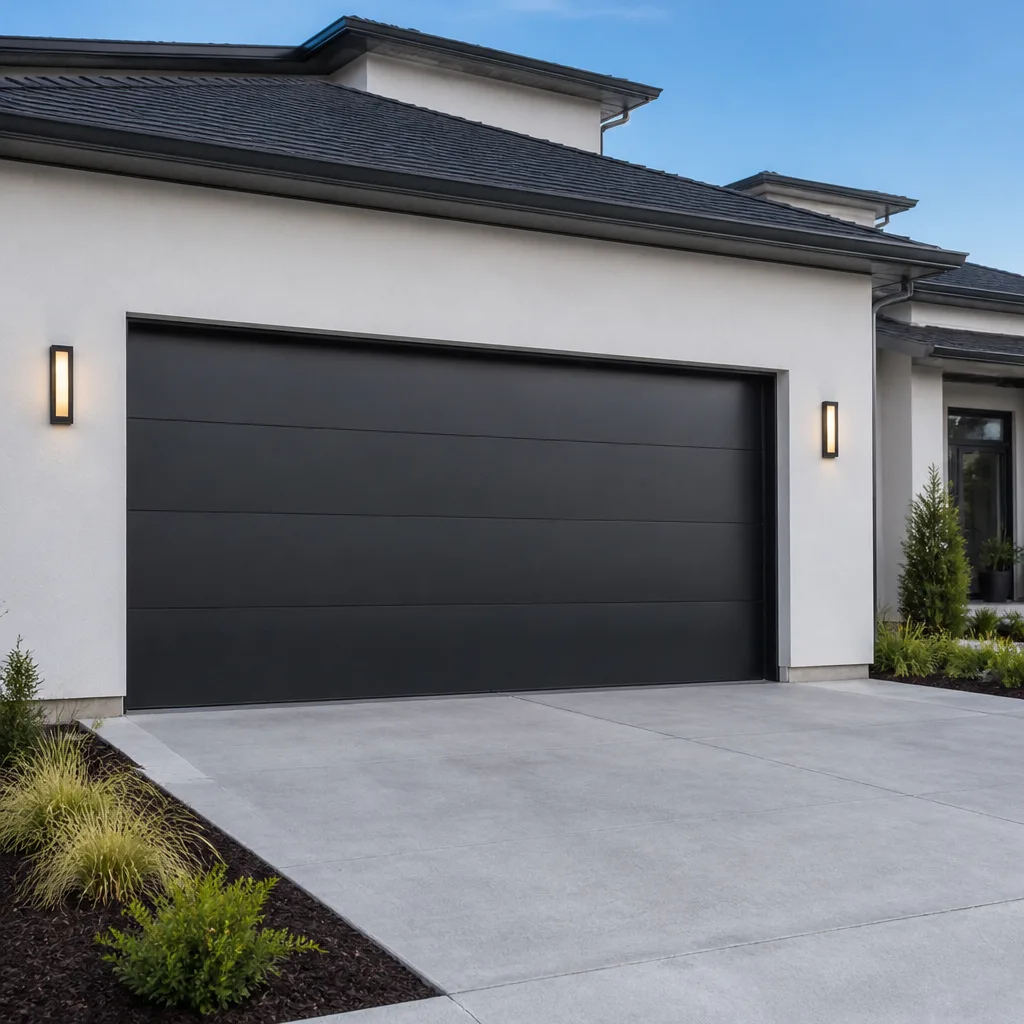 Modern flush
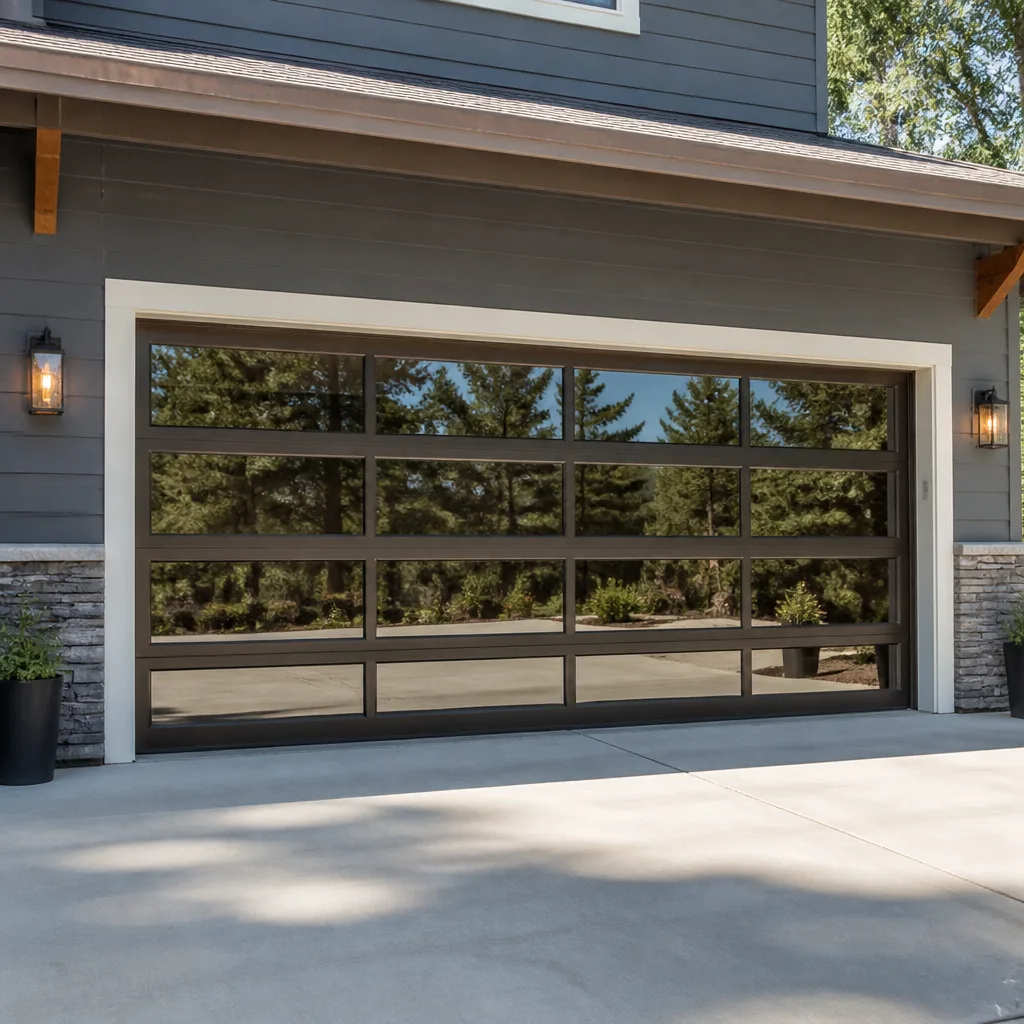 Full-view glass
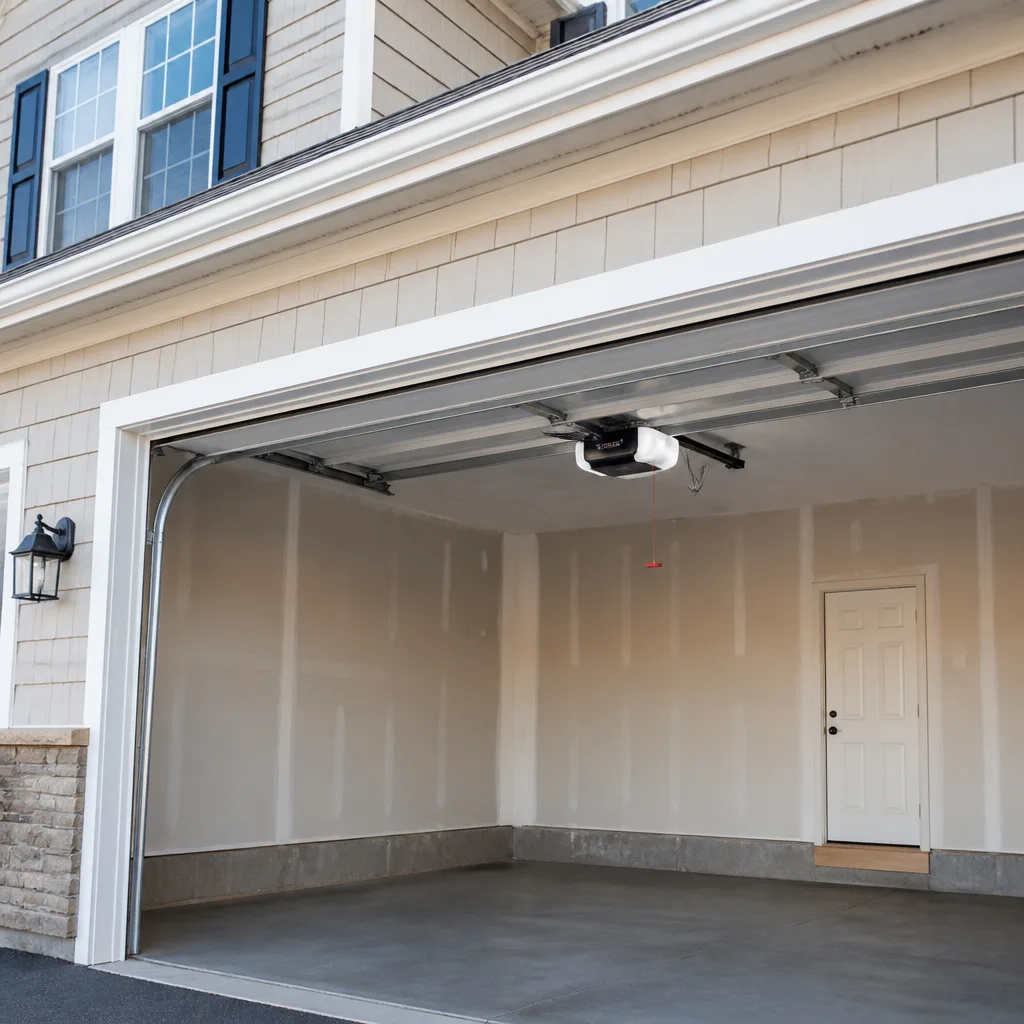 LiftMaster openers
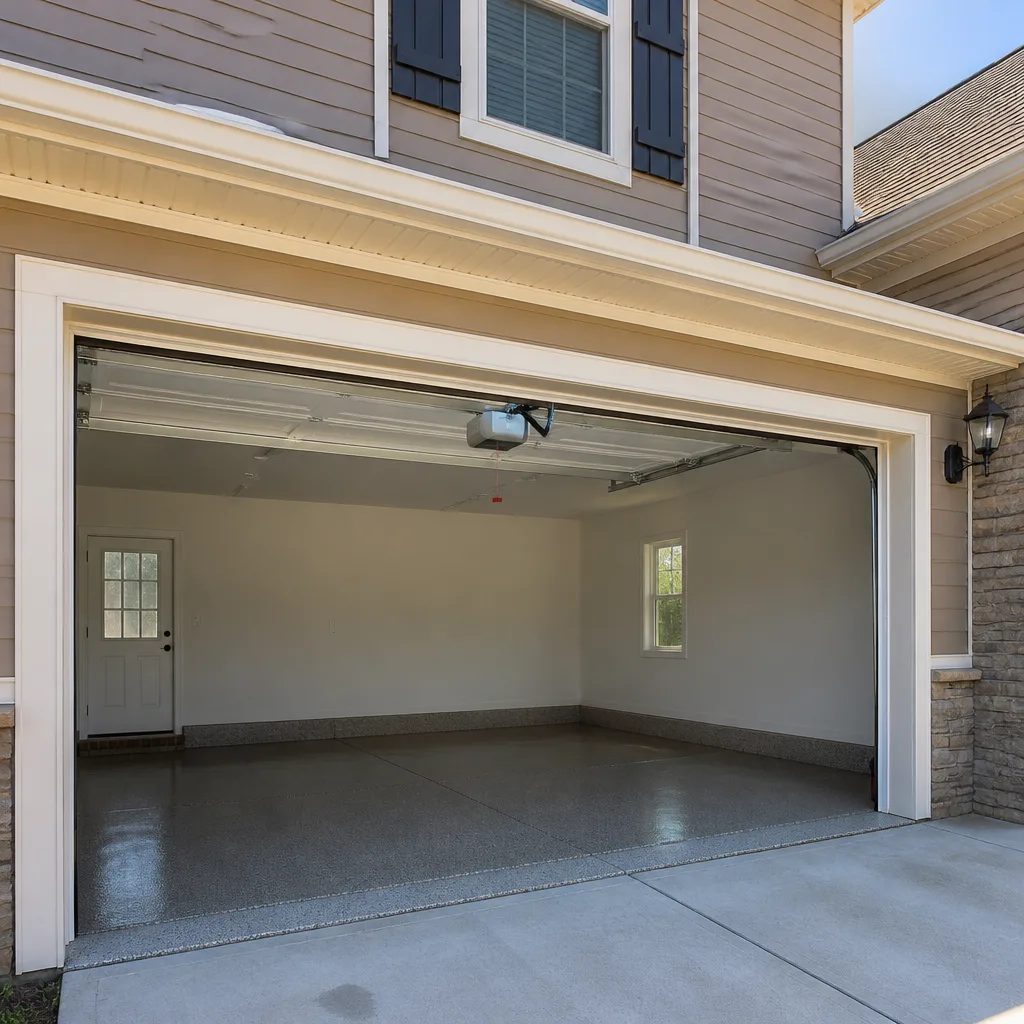 Chamberlain openers
Full 25-point door and opener safety check with every visit - springs, cables, rollers, tracks, and your LiftMaster or Chamberlain opener included
You get a price before we start. It does not change when the pro arrives.
Get your free estimateGarage Door Repair Troubleshooting in Nampa: Common Problems and How to Fix Them
A garage door that reverses before it closes isn’t broken. It’s doing exactly what it was designed to do. The problem is whatever it thinks it’s hitting, and until you understand that, you’ll keep treating the symptom instead of the cause. Most service calls we run in Nampa start with a homeowner pointing at the wrong part of the door. A grinding noise gets blamed on the opener when it’s really a roller. A slow door gets blamed on the motor when it’s a spring losing tension. This guide teaches you to read what your door is actually telling you, match each symptom to the component at fault, and know the honest line between what you can adjust yourself and what needs a trained technician.
Quick Answer
Most garage door problems trace back to four components: springs, cables, safety sensors, or the opener’s logic board. If your door reverses before closing, the safety sensors are usually the culprit. If it grinds or is slow, worn rollers or a weakening spring are likely. If it does nothing at all, the opener or its power supply is the first thing to check. Troubleshooting means matching the symptom to the part rather than guessing at the whole system.
Styles & brands we work with
- Raised-panel steel
- Carriage house
- Modern flush
- Full-view glass
- LiftMaster openers
- Chamberlain openers
Table of Contents
- Symptom-to-Component Mapping: What Your Door Is Telling You
- How Nampa Conditions Accelerate Garage Door Wear
- The Manual Disconnect and Balance Test
- The Safe DIY Ceiling: What You Can Adjust and What You Can’t
- Safety Sensor Troubleshooting
- Opener and Remote Problems
- Red-Flag Combinations That Signal Imminent Failure
- Common Mistakes to Avoid
- When to Call a Professional
Symptom-to-Component Mapping: What Your Door Is Telling You
The fastest way to fix a garage door is to stop treating it as one machine and start treating it as five systems working together: the springs, the cables, the tracks and rollers, the safety sensors, and the opener. When one fails, the symptom almost always points back to it. Here’s how we map what homeowners describe in Nampa to what’s actually failing.
- Grinding or squealing: Worn rollers, dry hinges, or a track that’s out of alignment. The opener is usually fine.
- Door reverses before closing: Safety sensors are misaligned, dirty, or blocked. The door is doing its job.
- Door sags on one side: A broken or stretched cable on that side, or a spring that’s lost tension unevenly.
- Slow, labored opening: A weakening torsion or extension spring, or a motor that’s straining against added weight.
- Door won’t respond at all: Opener logic board, a tripped breaker, or a remote that’s lost its programming.
- Loud bang from the garage: A torsion spring that just broke. Stop using the door and call a technician.
- Door stops partway and reverses: Limit switch settings on the opener, or an obstruction the sensors are detecting.
In our experience, roughly half of the “my door won’t close” calls we get in Nampa resolve to a sensor issue. That single fact saves homeowners a lot of unnecessary worry. If you want to understand the full repair side of this work, our garage door repair page covers what a technician actually does on-site.
How Nampa Conditions Accelerate Garage Door Wear
Garage doors in Nampa live a harder life than doors in mild climates. The Treasure Valley swings from hard Canyon County winters with freezing nights to summer heat that pushes past 100 degrees, and that temperature range works on metal and plastic parts in ways homeowners don’t always connect to their door problems.
Here’s what we see wearing out faster in Nampa specifically:
- Metal fatigue in springs: Repeated expansion and contraction from cold-to-hot cycles weakens torsion springs. A spring rated for a set number of cycles will often fail sooner here than in a stable climate.
- Sensor drift: The safety sensors use infrared beams, and extreme heat can cause the housings to shift slightly, throwing the beam out of alignment. That’s why so many Nampa doors start reversing in July.
- Dried-out rollers and hinges: The dry summer air pulls lubricant off moving parts faster than in humid climates, so grinding and squealing show up sooner.
- Track expansion: Metal tracks expand in heat and contract in cold. Over seasons, that can pull the track slightly out of true, and the door starts binding.
- Dust and pollen: Nampa’s spring pollen and summer dust collect on sensor lenses, blocking the beam and triggering phantom reversals.
None of this means your door is doomed. It means maintenance matters more here than in a mild climate. A door that gets lubricated once a year and has its sensors wiped down monthly will last far longer in Nampa than one that gets ignored until something breaks.
The Manual Disconnect and Balance Test
Before you call anyone or buy any parts, run a balance test. It takes five minutes, it’s safe, and it tells you whether your problem is mechanical or electrical. This one test eliminates about half the guesswork.
- Close the door fully. Make sure nothing and no one is in the path.
- Pull the manual release cord. This disconnects the door from the opener so you’re testing the door and springs, not the motor.
- Lift the door halfway by hand and let go. A properly balanced door will hold its position. A door that drops means weak or broken springs. A door that flies up means springs are too tight.
- Lift the door fully by hand. If it takes serious effort, the springs are tired. A well-balanced door lifts with one hand.
- Reconnect the trolley. Push the door back to the closed position, then pull the release cord again to re-engage the opener carriage.
If the balance test passes but the door still won’t work, the problem is almost certainly electrical: the opener, the sensors, or the remote. If it fails, you’re looking at springs or cables, and that moves you squarely into the professional zone. If you’re not sure how to interpret what you’re seeing, call (866) 942-7318. We answer 24/7, with fast dispatch from 7am to 7pm.
The Safe DIY Ceiling: What You Can Adjust and What You Can’t
There’s a clear line between what a homeowner can safely do and what will put them in the hospital. The line isn’t about skill; it’s about stored energy. Torsion springs hold enough force to break bones or worse, and cables under tension can snap with lethal speed. So here’s the honest breakdown.
Safe for a homeowner to handle:
- Wiping down safety sensor lenses and realigning them by hand
- Lubricating hinges, rollers, and the torsion bar with a proper garage door lubricant
- Replacing remote batteries and reprogramming remotes or keypads
- Adjusting the opener’s open and close limit screws
- Cleaning the tracks and checking for obvious obstructions
- Replacing a worn weather seal along the bottom of the door
Requires a trained technician:
- Replacing torsion or extension springs, including matched pairs
- Replacing or adjusting cables and cable drums
- Replacing the trolley carriage or the opener’s drive gear
- Realigning a bent track that’s pulling the door off-line
- Diagnosing or replacing a logic board
- Anything involving the header, the brackets, or the door’s structural hardware
The dividing line is simple: if the part stores or transfers the door’s weight, don’t touch it. Everything else you can usually handle. When in doubt, call us. Our technicians have up to 12 years of experience, and we work on all the major brands, including Raynor, LiftMaster, Chamberlain, and Genie. For opener-specific problems, our garage door opener repair page goes deeper.
Safety Sensor Troubleshooting
If your garage door reverses before it closes, the safety sensors are the first thing to check. They sit on brackets near the floor on each side of the door, about six inches above the ground, and they shoot an invisible infrared beam across the opening. If anything interrupts that beam, the door reverses. That’s a feature, not a fault.
Here’s how to test them safely:
- Look at the LED lights on each sensor. Both should be lit steadily. If one is blinking or dark, the beam is broken or the alignment is off.
- Wipe both lenses with a dry cloth. Pollen, dust, and spiderwebs cause a surprising share of “broken” sensor calls in Nampa.
- Loosen the wing nut on the sending sensor and adjust the aim until the receiving sensor’s light glows steady. Tighten the nut.
- Check for obstacles in the path. A leaf, a tool, or a bulging weather seal can interrupt the beam.
- Check the wiring at the sensor terminals. Loose wires and corrosion on the contacts are common causes of intermittent failure.
If the sensors are lit steadily but the door still reverses, the problem isn’t the sensors. It’s likely the opener’s logic board or a limit switch. That’s not something to diagnose by trial and error. Call (866) 942-7318 and we’ll figure it out. We answer 24/7, with fast dispatch from 7am to 7pm, Sunday through Friday.
Opener and Remote Problems
When a door doesn’t respond to the remote but the wall switch works, the opener is fine and the remote or the antenna is the culprit. When neither works and the motor is silent, the opener itself is the problem. Here’s how the diagnostic usually splits.
- Wall switch works, remote doesn’t: Dead remote battery, lost programming, or a broken antenna on the opener.
- Motor hums but door doesn’t move: A stripped drive gear or a disconnected trolley. The opener is trying, but nothing’s engaging.
- Motor runs briefly and stops: The logic board is detecting a fault, often from the sensors or a limit switch.
- Door opens fine but doesn’t close: Sensors, every time. Start there before assuming the opener is bad.
- Smart opener not connecting: Wi-Fi password, app update, or a network change. This is more common with modern Chamberlain and LiftMaster units.
In our experience, homeowners replace openers that only need a $2 remote battery or a five-minute relearn. Before you spend money, run through the wall switch test. If you’re still stuck, our garage door opener repair page covers the electro-mechanical side in more detail, and we’re happy to take a look.
Red-Flag Combinations That Signal Imminent Failure
One symptom usually means a small fix. Two or more together almost always means something bigger is about to fail, and continuing to run the door makes it worse and more expensive. Here’s what we treat as a stop-and-call signal.
- Grinding plus one-side sag: A cable is fraying or the drum has slipped. Running the door can snap the cable.
- Loud bang plus a door that won’t lift: A torsion spring has broken. Do not run the opener; it will strain the motor. Call a technician.
- Slow opening plus jerky movement: A spring has lost tension and the door is counterbalancing unevenly. This is how doors come off track.
- Reverse plus limit-switch click: The opener’s travel limits are fighting the sensors, and the board is getting conflicting signals.
- Door drops when released: Springs are shot. This is a safety issue, not a maintenance item.
Two or more of these together means the problem isn’t a quick fix, and the risk of injury goes up if you keep working the door. This is the moment to stop and call. We’re experienced with all the major brands: a Raynor with a broken spring and a Genie opener that won’t respond are both part of a normal day for us.
See the difference
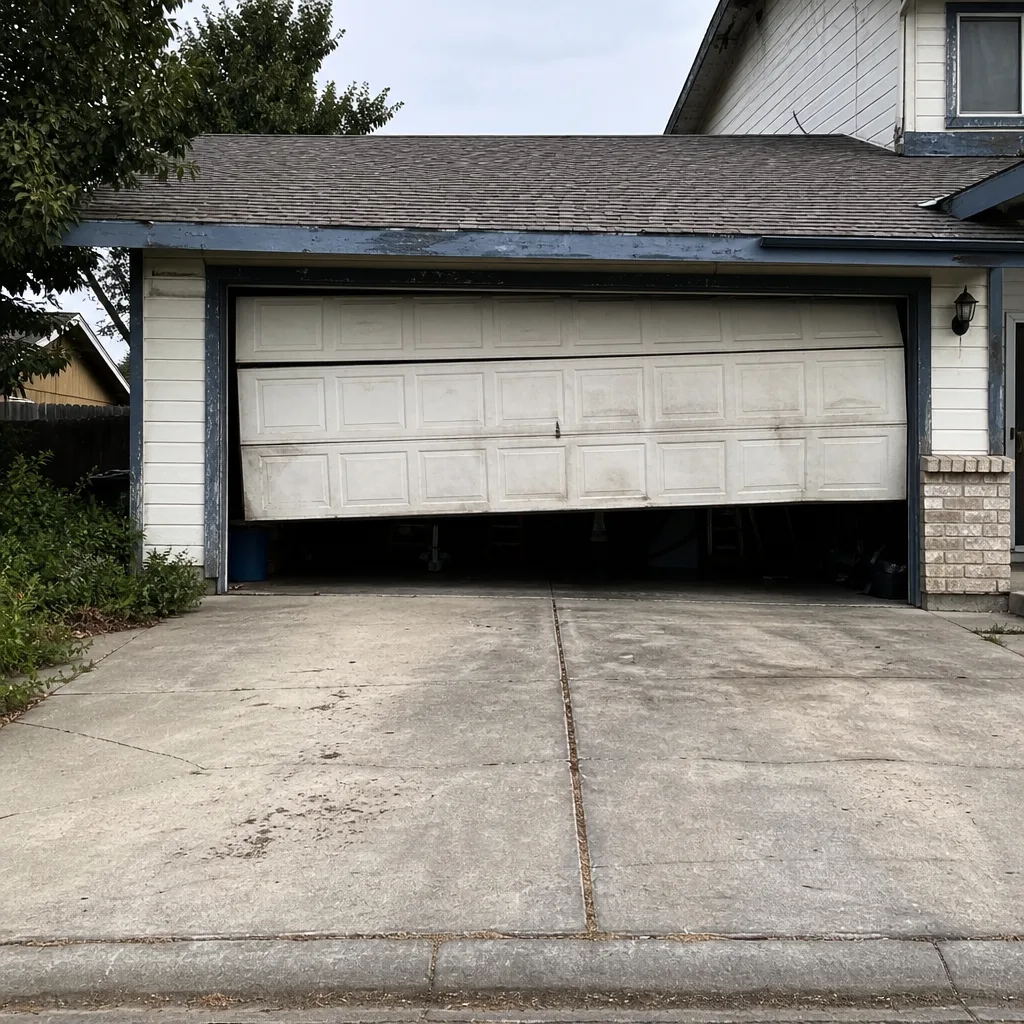 Before
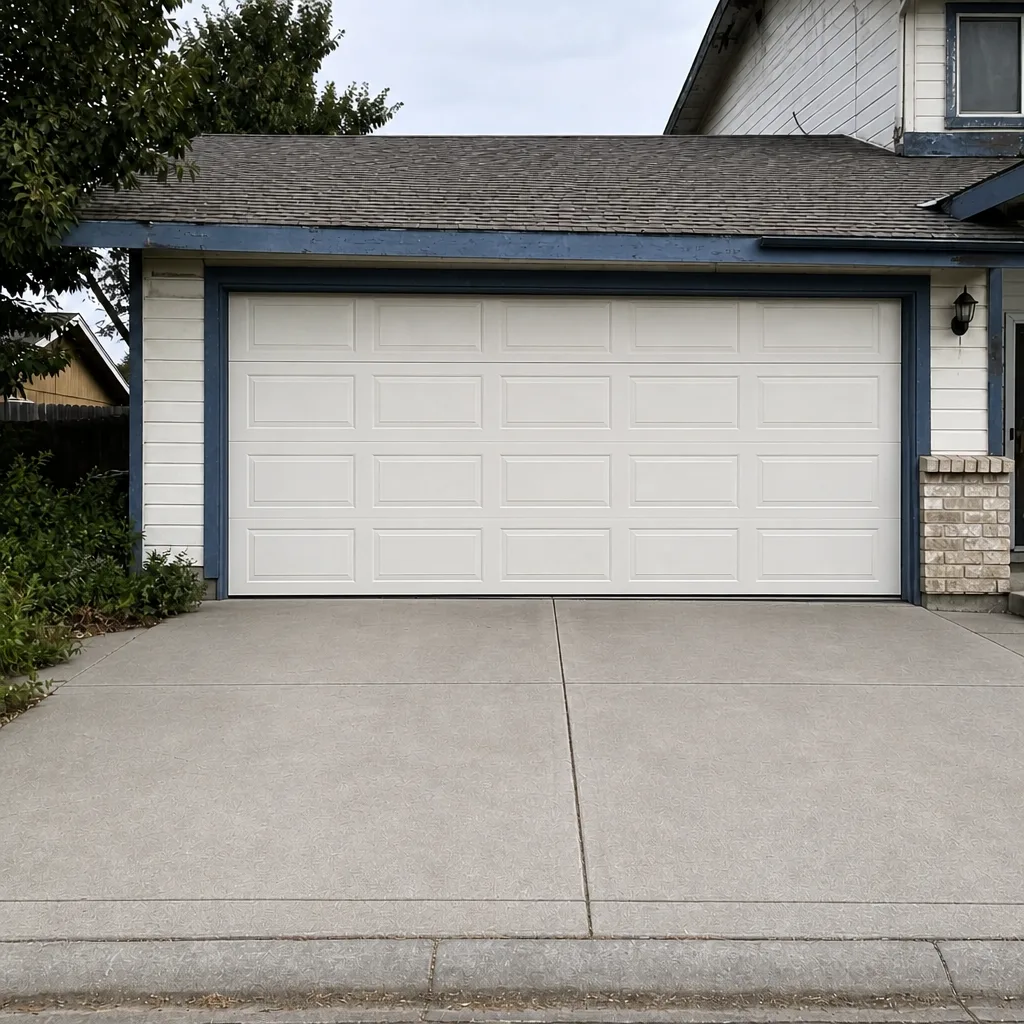 After
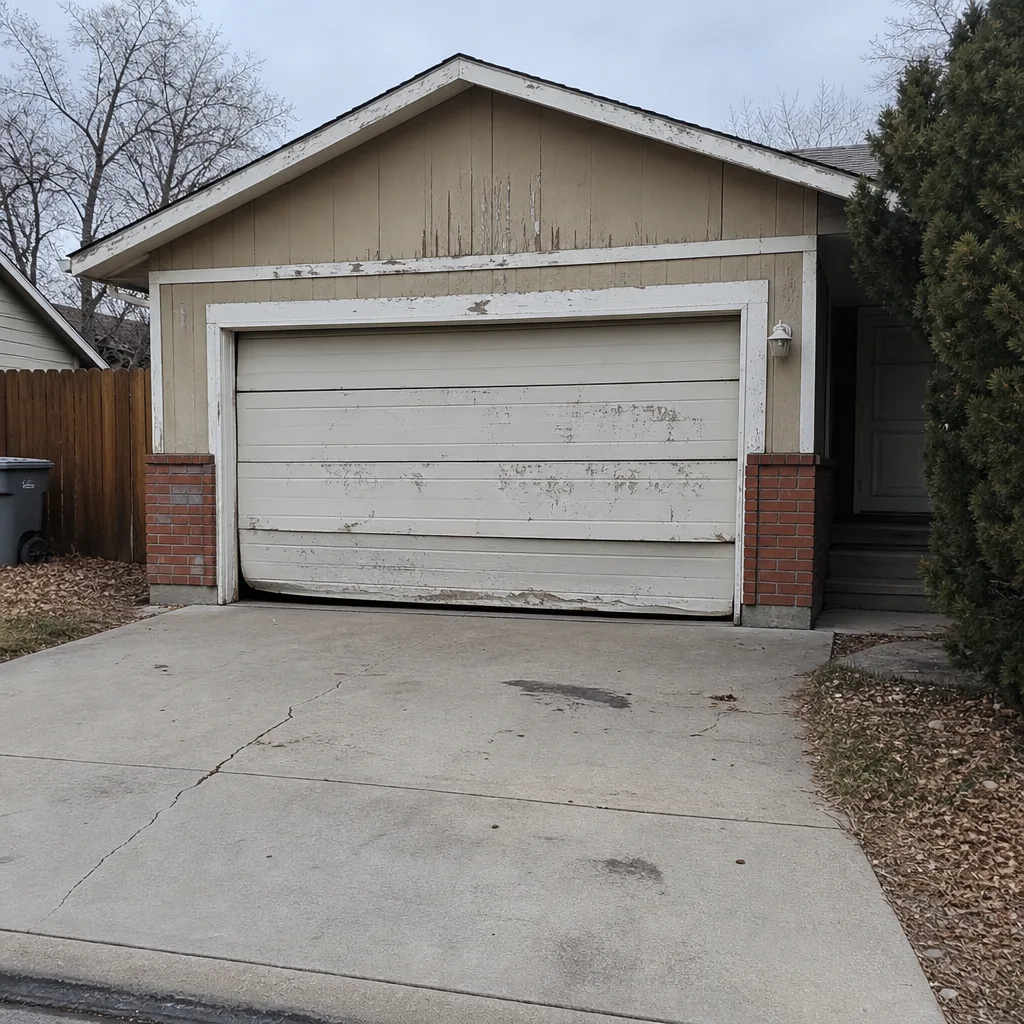 Before
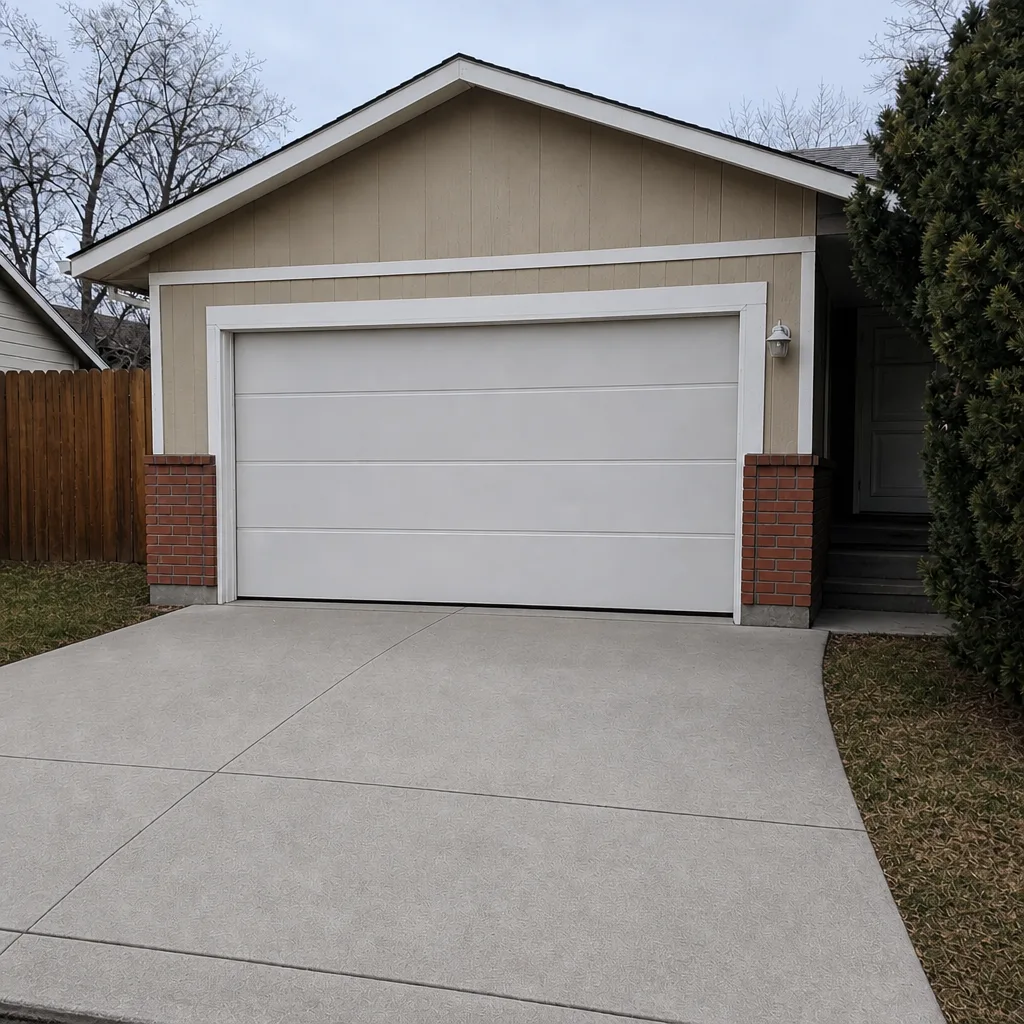 After
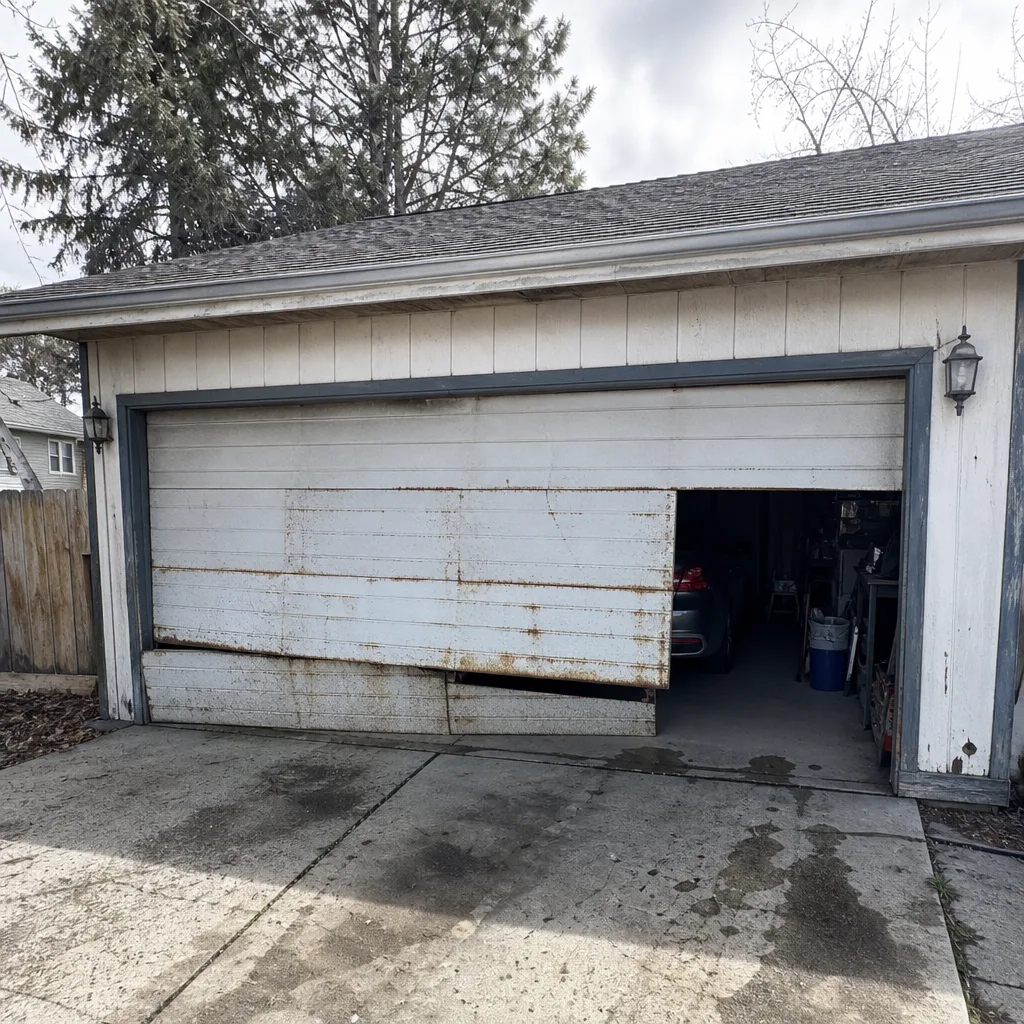 Before
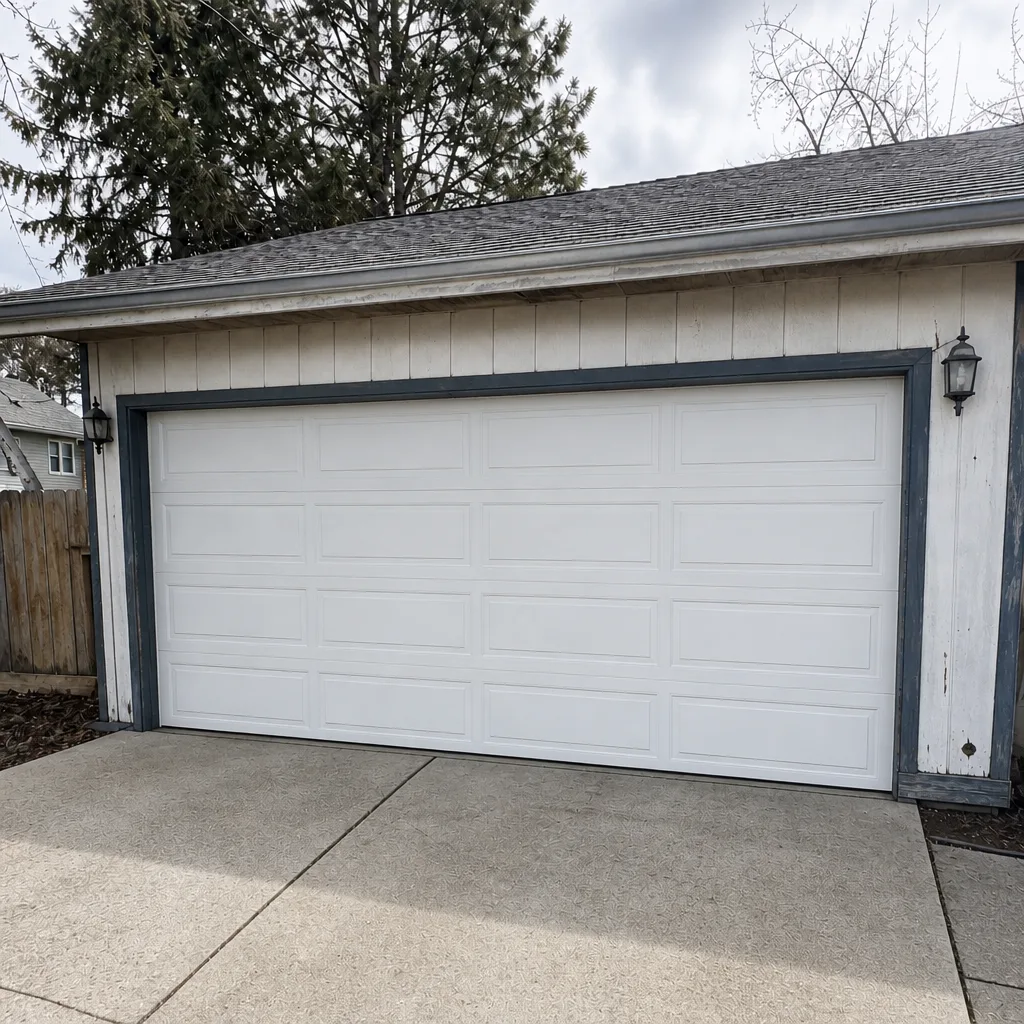 After
Common Mistakes to Avoid
- Winding or unwinding a torsion spring yourself. The springs store enough energy to maim. This is the single most dangerous repair in the garage, and it’s why every manufacturer warns against it.
- Calling the door “broken” when it’s the sensors. Half the “won’t close” calls we run in Nampa end at a two-minute sensor adjustment. Check the LEDs before you do anything else.
- Using WD-40 as a lubricant. It’s a solvent, not a lubricant, and it attracts dust that turns into grinding. Use a proper garage door lubricant on hinges, rollers, and the torsion bar.
- Replacing a single spring when the pair is worn. Torsion springs are matched and rated to similar cycle counts. If one breaks, the other is usually close behind.
- Ignoring a bent track. A small bend turns into a jumped roller, which turns into a door that comes off its tracks. Fix it early.
- Pulling the manual release while the door is open. This is how doors slam down. Pull it only when the door is fully closed.
- Waiting after a loud bang. That bang was a spring breaking. Each attempt to open the door strains the opener and risks the door falling.
When to Call a Professional
Call a professional the moment your symptoms include anything under tension. Broken or sagging springs, frayed cables, a door that drops when released, or a loud bang followed by a door that won’t lift: these are all cases where DIY work risks serious injury. Also call when the balance test fails, when the door binds in the track, when the opener’s board is suspect, or when you’ve tried the safe fixes and the door still misbehaves.
Nampa Garage Door Service offers free estimates in Nampa. Call (866) 942-7318 and we’ll walk you through what’s likely wrong before you commit to anything. We answer 24/7. Fast dispatch from 7am to 7pm, Sunday through Friday. Every price is quoted and agreed before any work starts, so you know the number before anyone touches the door. Garage doors are all we do: repair, opener repair, and installation across the major brands. That single-trade focus is why our technicians diagnose faster than a general contractor can. If you’re not sure whether your problem is worth a call, it is. The cost of a diagnostic is nothing compared to what a door off its tracks costs to fix. For our full service range, start at Nampa Garage Door Service, and if you’re outside the main city and want the full picture for our area, our page on Nampa lays it out.
Frequently Asked Questions
It reverses because the safety sensors are detecting an obstruction in the beam’s path. That means the sensors are misaligned, dirty, or blocked by an obstacle, and the door is doing exactly what it’s designed to do. Wipe the lenses and check the LED lights on both sensors first. If they’re lit steadily and the door still reverses, call (866) 942-7318 for an exact diagnosis. Estimates are free.
No. Torsion springs store enough energy to cause fatal injuries, and no manufacturer recommends homeowner replacement. Extension springs are slightly less dangerous but still under significant tension. This is one of the few garage door repairs where a professional is the only safe option, and we strongly advise against trying it yourself.
Every job is different, so there’s no single number. Repair pricing depends on what’s failing: a sensor adjustment is on the low end, while a spring replacement or track realignment costs more. We quote the price before any work starts and set it per job by the written estimate, so there are no surprises. Call (866) 942-7318 for a free estimate on your specific door.
Not necessarily. Loud grinding or squealing usually means worn rollers, dry hinges, or a slightly misaligned track, all of which are fixable and not urgent warning signs on their own. But if the noise comes with a sag to one side or a door that jerks, the problem is deeper and you should stop using the door. Call us to take a look.
Torsion springs mount horizontally above the door and twist to lift it; extension springs run along the side tracks and stretch. Torsion springs are safer and more common on modern doors, and they’re what most Nampa homes have. If yours breaks, don’t run the opener. Call (866) 942-7318 and we’ll replace the pair so both springs are matched.
Yes. We work on legacy systems as well as modern smart and Wi-Fi-enabled openers, including LiftMaster, Chamberlain, Genie, and more. We diagnose the exact failure before recommending a replacement, so an old but serviceable opener doesn’t get replaced just because a remote battery died or a limit switch drifted. Call (866) 942-7318 for a free estimate.
No, we’re closed Saturday. We’re open Sunday through Friday, 7am to 7pm, and we answer the phone 24/7. If your door fails on a Saturday, call (866) 942-7318 and we’ll book you into the next opening.
The Bottom Line
Most garage door problems point back to a specific component rather than a mystery. Match the symptom to the part: sensors for reversals, springs and cables for sagging, rollers and tracks for noise, the opener for total silence. Run the balance test to separate mechanical from electrical problems before you spend a dollar. Stay on the safe side of the DIY line by leaving tensioned parts to a trained technician, and stop using the door the moment two or more red flags combine. If you’d rather skip the troubleshooting and get a straight answer, Nampa Garage Door Service offers free estimates in Nampa. Call (866) 942-7318. We answer 24/7, with fast dispatch from 7am to 7pm, Sunday through Friday.
Written by the team at Nampa Garage Door Service.