
Last updated November 15, 2026
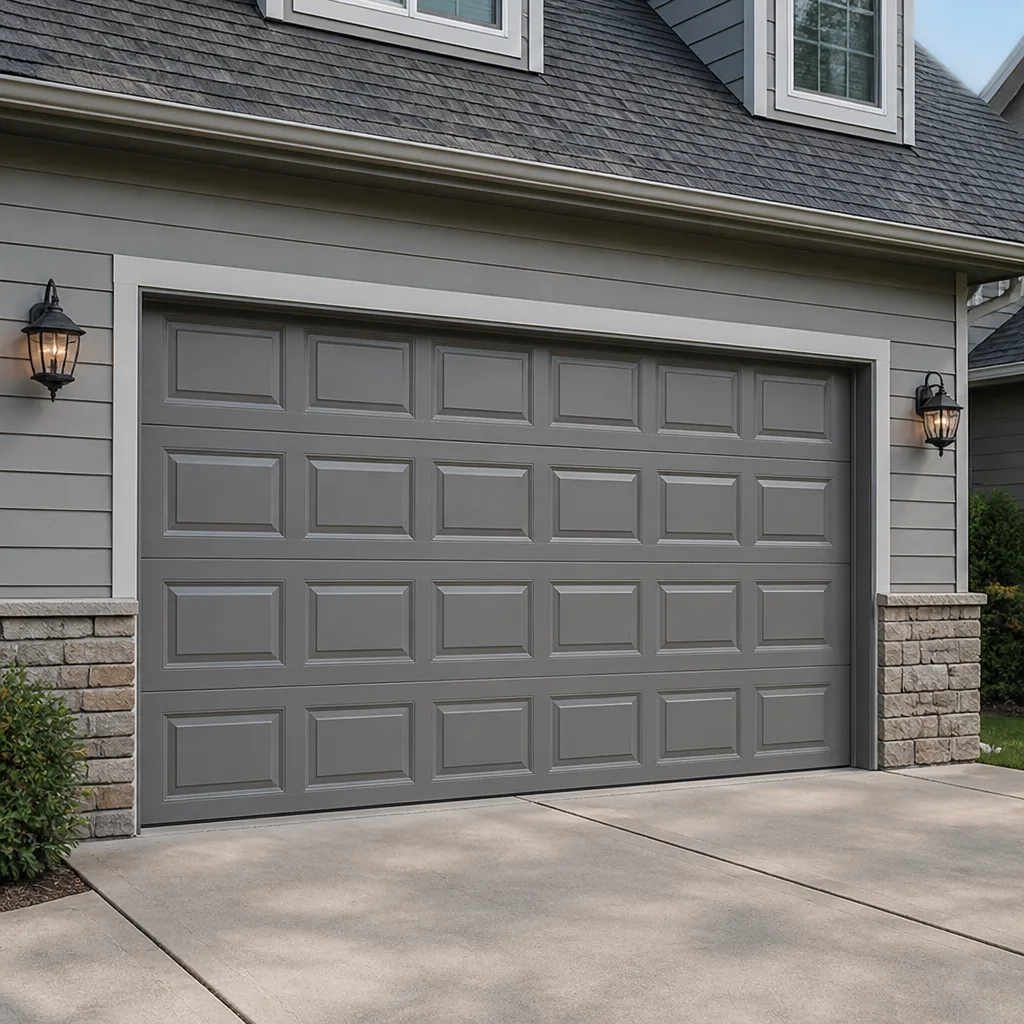 Raised-panel steel
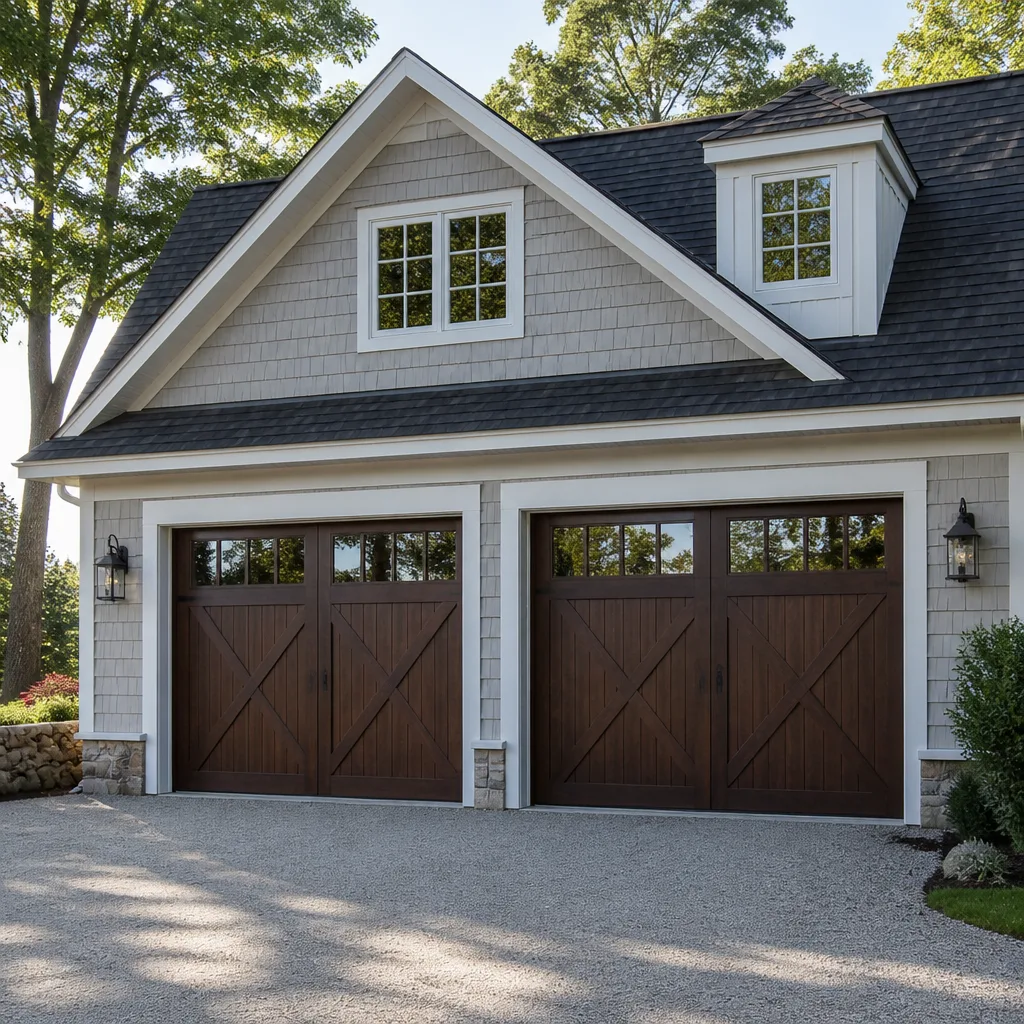 Carriage house
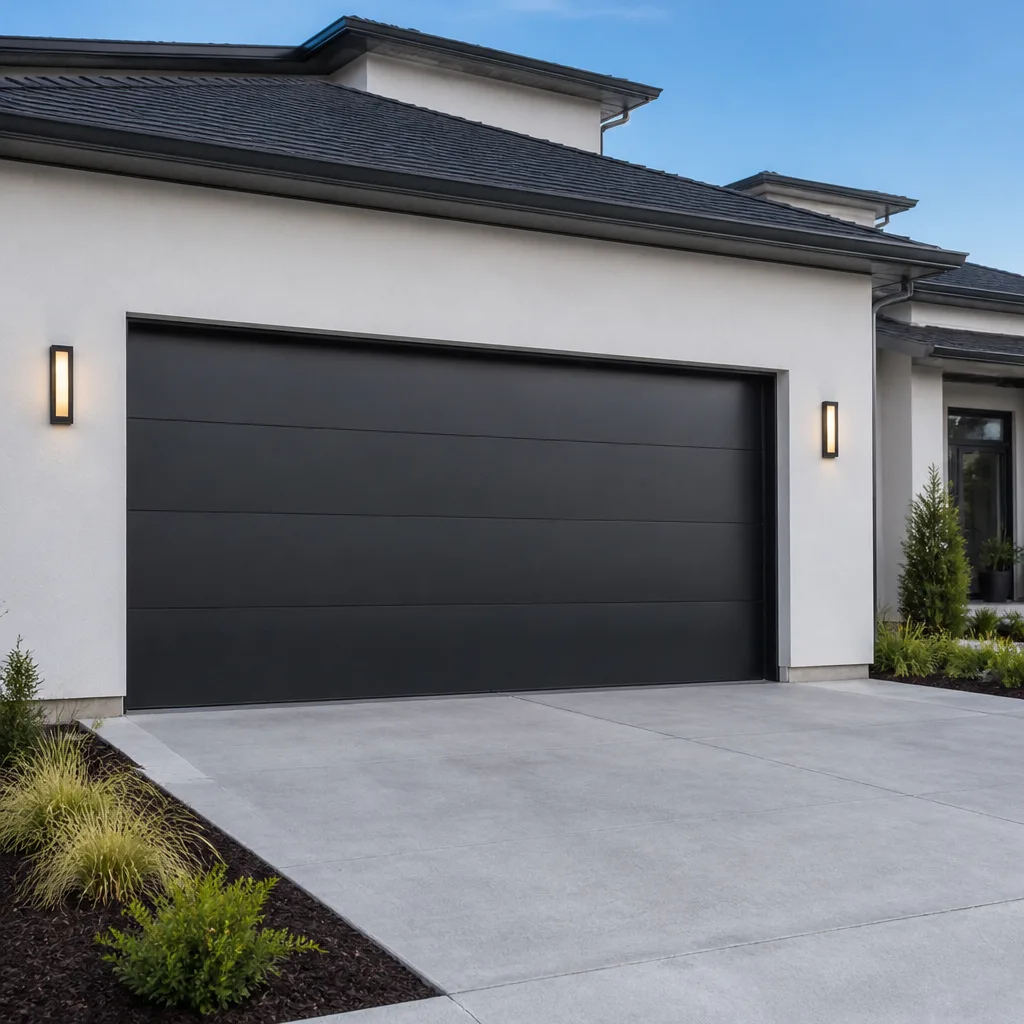 Modern flush
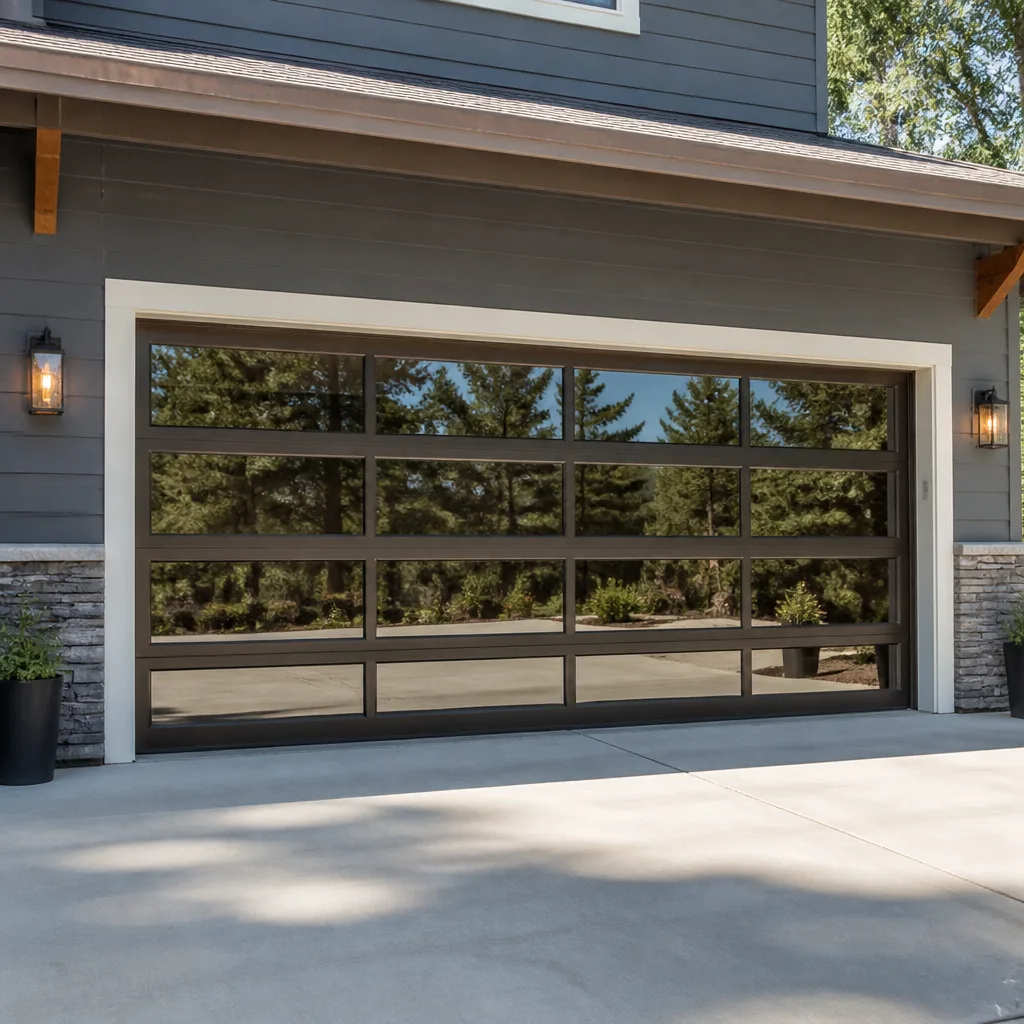 Full-view glass
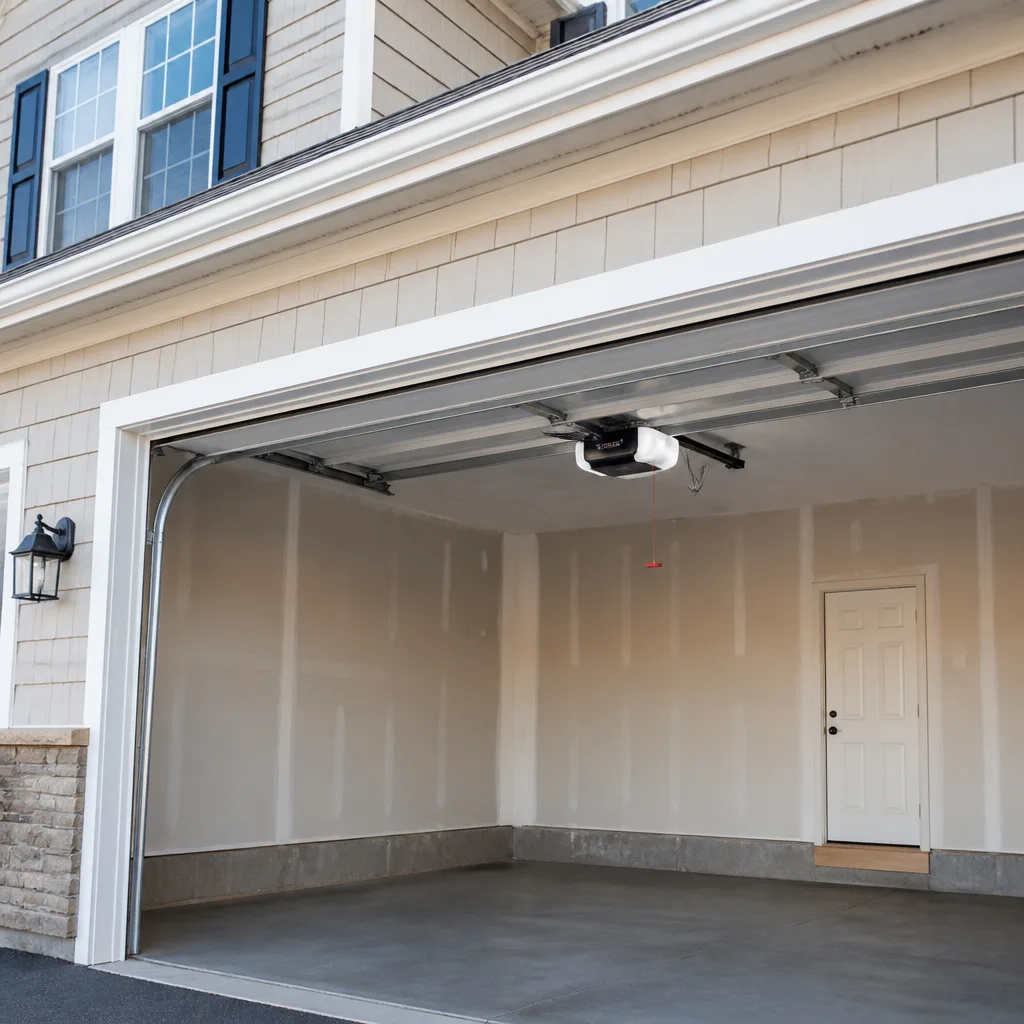 LiftMaster openers
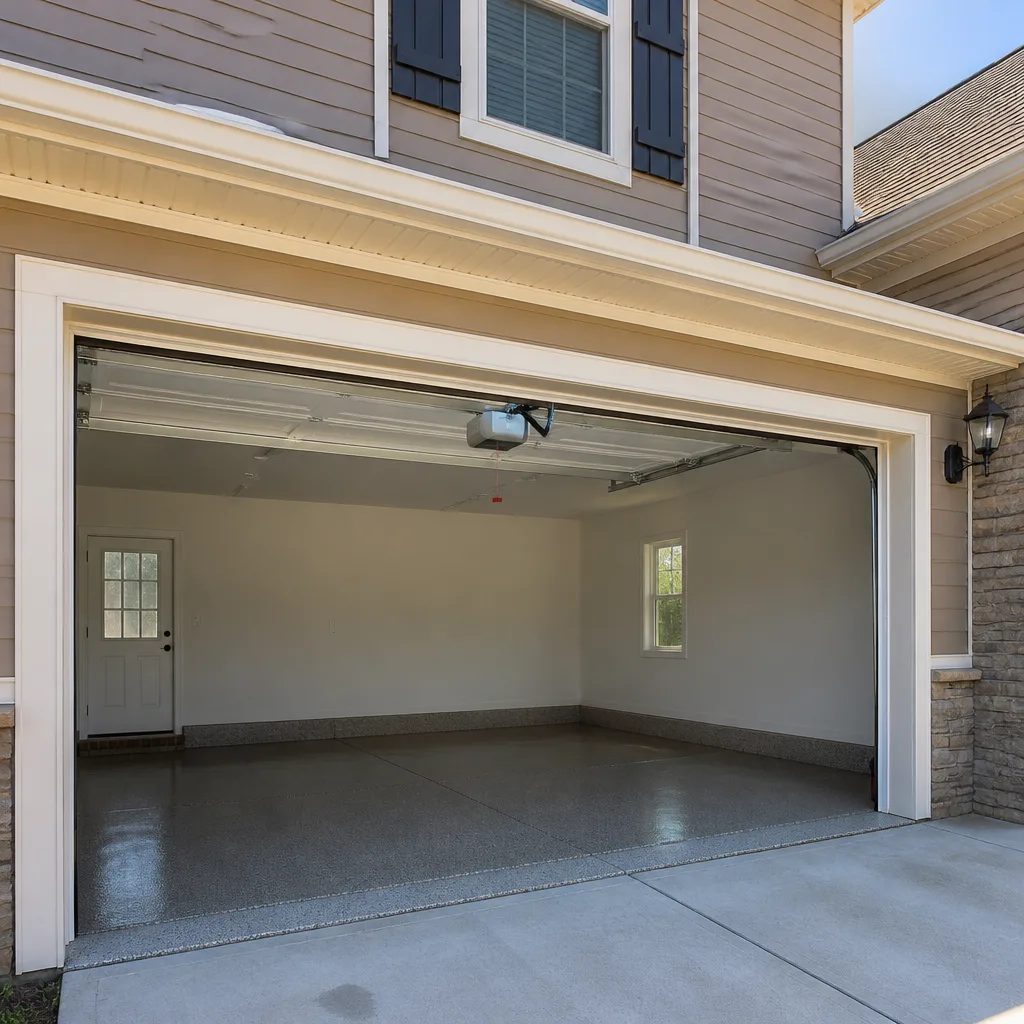 Chamberlain openers
Full 25-point door and opener safety check with every visit - springs, cables, rollers, tracks, and your LiftMaster or Chamberlain opener included
You get a price before we start. It does not change when the pro arrives.
Get your free estimateGarage Door Repair Maintenance Schedule: What to Do and When
Most homeowners treat garage door maintenance like a dentist appointment: one visit a year, if they remember. That’s a hope, not a schedule. The reality is that a garage door is a dozen different systems wearing out on a dozen different timelines. Springs are rated by cycles, weatherstripping by seasons, sensors by temperature swings, hinges by how often the door moves. A good schedule staggers the tasks to match. What follows is the maintenance calendar we’d write for our own families in Nampa – monthly checks, quarterly work, annual professional tests, and the cycle math that tells you when a spring is actually due.
Quick Answer
A real garage door maintenance schedule combines a 30-second visual check once a month, lubrication and hardware tightening every quarter, a professional balance and safety test once a year, and a spring replacement prediction based on your household’s annual cycle count rather than the calendar alone. In Nampa, tasks should also shift with the seasons – fall for weatherstripping, spring for lubrication, summer for sensor checks. If any single check fails (grinding, sagging, slow response, a door that won’t reverse), call a specialist rather than waiting for the next scheduled slot.
Styles & brands we work with
- Raised-panel steel
- Carriage house
- Modern flush
- Full-view glass
- LiftMaster openers
- Chamberlain openers
Table of Contents
- Why a Real Schedule Beats an Annual Tune-Up
- The Cycle Math: How to Predict Spring Replacement
- Monthly Tasks: The 30-Second Visual Check
- Quarterly Tasks: Lubrication and Hardware Tightening
- Annual Tasks: The Professional Balance Test
- Seasonal Timing for Nampa: Fall, Spring, Summer, Winter
- Which Lubricants to Use – and Which to Avoid
- How to Log Your Maintenance (and Why It Matters)
Why a Real Schedule Beats an Annual Tune-Up
A yearly tune-up treats every component as if it wears at the same rate. It doesn’t. A torsion spring does its work in cycles and can be fine for six years or gone in three. A bottom seal can crack in a single Nampa summer. An opener’s logic board has no wear pattern that maps to a calendar at all. If you schedule only one professional visit per year, you’re lumping unlike things together and you’ll miss problems between visits.
What works instead is a tiered system that matches each task to how fast the part it checks actually degrades:
- Daily-to-monthly: anything visible at a glance – the door’s travel path, the sensor LEDs, the state of the bottom seal, obvious looseness.
- Quarterly: moving metal parts – hinges, rollers, the opener rail, the lock bars – plus lubrication and a light tightening pass.
- Annually: the balance test, spring cycle audit, and opener force check, which need a trained eye and the right tools.
- Condition-triggered: weatherstripping, spring replacement, cable inspection, and any part whose lifespan is tied to use, not time.
That structure also makes diagnosis faster. When a technician arrives in Nampa and the owner can point to a log showing when the rollers were last greased, when the door was last balanced, and how often it runs a day, we can skip the guesswork and go straight to the failing part. Garage doors are all we do, so a clean service history usually shortens the first visit by half.
The Cycle Math: How to Predict Spring Replacement
Garage door springs are rated by cycle count, not years. A standard torsion spring is typically rated for about 10,000 cycles – one cycle being a single open-then-close. That number is fixed by the manufacturer, and no amount of lubrication extends it. What your household controls is how fast you burn through those cycles.
Here’s how the math usually looks. Take the number of times the door opens and closes in a day, multiply by 365, and you have your yearly cycle count. Divide 10,000 by that figure and you get the number of years the spring is likely to last:
- Count your daily door movements. A family that parks one car and uses the garage as the main entry might run four cycles a day.
- Multiply by 365. At four per day, that’s 1,460 cycles a year.
- Divide 10,000 by your annual count. At 1,460 cycles per year, the standard spring has a lifespan of roughly seven years.
- Adjust the estimate if your habits change. Adding a second driver, working from home, or using the door as a package drop can double that count.
What this means in practice is that two identical houses side by side can need springs three years apart, and neither homeowner will know until something snaps. That’s why the spring audit belongs on the annual checklist, not just the moment one breaks. A technician can measure coil counts, check for visible gaps, and note any unusual twists that suggest the spring is near the end of its rated life – all without taking the door down.
One caution: springs and the cables under tension are the single most dangerous part of the door to touch. Never attempt to adjust, unwind, or replace a torsion spring or the cables attached to it. Those parts hold hundreds of pounds of force and can cause serious injury in an instant. Leave this to a trained technician.
Monthly Tasks: The 30-Second Visual Check
Once a month, walk into the garage, close the door, and run your eyes down the tracks, across the panels, and under the seal. The whole pass takes about as long as reading this paragraph. What you’re looking for is change – anything that looks different than it did last month.
Your monthly list:
- Tracks: look for dents, bends, or any debris that could catch a roller. Tracks should look straight and clean.
- Rollers: check for wobble. Nylon rollers should spin freely; steel rollers shouldn’t have visible flat spots.
- Panels: run a hand along the inside of the door for any crack, dent, or separation at the seams.
- Hinges and bolts: look for rust spots or obvious looseness. You can tighten visible bolts with a socket wrench, but stop if a bolt turns easily and won’t hold – that’s a sign of stripped threads.
- Bottom seal: press the rubber seal at the base of the door. It should be soft and uniform, with no cracks or missing pieces.
- Sensor LEDs: both sensors should show a steady light. Any flicker or dark LED means the safety beam isn’t working.
- Opener: press the wall button. The door should start immediately and move smoothly, with no groaning, popping, or hesitation.
If anything fails a monthly check, note it on your log. A single item can usually wait for the next quarterly pass. Two or more at once, or anything involving the door’s movement or the sensor system, should be addressed right away. If your door fails on a Saturday and won’t budge, the door can be booked for a Sunday visit. Our phone line stays open regardless: we answer 24/7.
Quarterly Tasks: Lubrication and Hardware Tightening
Every three months, set aside thirty minutes for the moving-metal pass. This is the maintenance that does the most for long-term reliability, because it prevents wear rather than detecting it. The work splits cleanly into lubrication (what to grease) and tightening (what to snug back up).
Work through this order:
- With the door closed, wipe each track clean with a dry cloth. Never lubricate the tracks themselves – they should stay dry so the rollers can roll, not slide.
- Apply a light coat of white lithium grease to each hinge pivot point. A small dab is enough; more just attracts dust.
- Grease the roller stems, not the roller wheels. Rollers should spin freely on their stems.
- Lubricate the torsion spring coils with a spray lithium grease. The spring should be coated but not saturated.
- Apply a small amount of lithium grease to the opener rail and the trolley. Never use a heavy grease on the rail – it collects grit.
- Use a socket wrench to check every hinge bolt, the bracket bolts, and the track mounting bolts. Snug, not torqued to the max. Anything that won’t hold tight should be flagged for a technician.
Dust and pollen are real factors in Nampa, especially in spring and early summer. If you notice the rollers or hinges picking up a gritty film, a quick wipe and a fresh dab of grease goes a long way. Under dusty conditions, you may want to run this quarterly pass a little more often than every ninety days.
Annual Tasks: The Professional Balance Test
Once a year, have a technician run the balance test. This is a manual check that tells you whether the springs are doing their fair share of the lifting, or whether the opener has been quietly carrying the load. An out-of-balance door accelerates wear on the opener, the rollers, and the hinges all at once, and it’s the kind of problem most homeowners can’t detect on their own.
What a professional balance test covers:
- The door’s travel: pulling the release cord and manually moving the door halfway up to confirm it stays put. If it drifts, the springs are out of balance.
- Opener force: checking that the opener reverses on contact with a small object (a 2×4 laid flat is the standard test) and that the force setting is within range.
- Sensor alignment: confirming that both photo-eye sensors are aimed correctly and respond instantly to a broken beam.
- Cable inspection: looking for fraying, kinks, or slack in the lift cables.
- Spring audit: measuring the coil gap, counting cycles against your log, and estimating the remaining lifespan.
An annual visit is also the right time to have the opener’s battery backup tested, the remotes re-paired, and the safety reverse checked against a fresh test object. On Wi-Fi or smart openers, we’ll also verify the app connection, which tends to drift after firmware updates. Whether your opener is a Genie or a LiftMaster, the annual service is the same job.
Seasonal Timing for Nampa: Fall, Spring, Summer, Winter
Nampa’s climate shapes the schedule in ways a generic guide won’t tell you. Fall cold snaps hit fast in the Treasure Valley, and the first hard freeze after a warm October is when door seals and hinges start complaining. Spring reverses the pattern: winter contraction of metal and seals gives way to expansion, and the door can suddenly start rubbing where it was silent all winter. Summer heat stresses sensors and electronics. Winter tests everything at once.
Here’s how we’d pace the year in Nampa:
- Fall (September-October): inspect the bottom seal and side weatherstripping before the first hard freeze. Any crack, tear, or stiffness in the rubber will let cold air under the door all winter. Also check that the door closes all the way to the floor – a small gap becomes a real draft once it’s cold.
- Early winter (November): run the quarterly lubrication pass. Cold grease is thicker; a fresh coat helps moving parts cycle smoothly through the coldest month.
- Spring (March-April): post-winter lubrication pass, plus a close look at the hinges and track for rust or shifting. As temperatures rise, metal that contracted in January expands, sometimes enough to make the door rub the frame. If the door suddenly creaks, listen to it.
- Summer (June-August): check the photo-eye sensors and opener electronics. High heat can cause sensor brackets to loosen and lens covers to expand, occasionally breaking alignment. Run the sensor test; if the LEDs flicker, realign before it becomes a repair call.
- Late summer / early fall storm season: after any wind event, walk the door and check for bent panels, off-track rollers, or a door that no longer seats evenly. If the door was hit by debris, don’t cycle it until a technician has looked at it.
If you’re new to Nampa and just closed on a house with an older door, an annual service is a good first move. It’s cheaper to learn the door’s condition on your own schedule than on a February morning. You can read more about what we cover in our Nampa location guide if you want the local context.
Which Lubricants to Use – and Which to Avoid
The most common maintenance mistake we see on Nampa doors isn’t skipping lubrication – it’s using the wrong product. Two rules matter most: never spray WD-40 on rollers or hinges, and never apply heavy automotive grease to the opener rail.
Here’s the practical breakdown:
- White lithium grease: the right choice for hinges, roller stems, springs, and lock bars. It clings without running and holds up in the cold.
- Light lithium spray: ideal for the opener rail and trolley. It penetrates well and doesn’t gather grit the way heavier grease does.
- Silicone spray: use on weatherstripping and rubber seals to keep them supple. Never use oil on rubber.
- WD-40 (as a general spray): avoid it on nylon rollers – it dries out the nylon and can cause cracking. It’s a solvent, not a long-term lubricant.
- Heavy axle or bearing grease: wrong for the opener rail. It attracts dust and grit and turns the trolley into a grinder.
- Motor oil or cooking oil: never. Both run off quickly and attract debris, and neither is designed for the tolerances in a door’s moving parts.
One thing to know about nylon rollers specifically: they’re common on Clopay and Amarr doors and they’re designed to run dry or with a very light application of silicone. If the door squeaks, the noise is almost always the hinge or the roller stem, not the roller wheel itself. Greasing the right part is the fix.
How to Log Your Maintenance (and Why It Matters)
A written log turns a maintenance schedule from a checklist into a diagnostic tool. When a technician arrives, a clean log tells them at a glance what the door’s been through – when the springs were last audited, how often the rollers were greased, and how many cycles the household runs in a year. Without it, every diagnosis starts from scratch.
You don’t need software. A notebook taped to the inside of the garage door frame works. Here’s the format we recommend:
- A title block: door brand and model (Clopay, Wayne Dalton, Amarr, whatever is stamped on the inside panel), opener brand and model, and the date the door was installed if you know it.
- A cycle counter: a simple tally or a line for “approximate open/close cycles per day.” Update it once a season.
- A running log: columns for date, task completed, and any observations. “April 12: greased hinges, noted slight rust on right hinge bracket.”
- A problem column: anything that didn’t feel right – a hesitation, a new noise, a sensor flicker – noted with the date.
- A service history section: any professional visit, what was done, and what was replaced. Springs, cables, rollers, opener parts.
When you call for garage door repair, mention that you have a log. It speeds up the diagnostic and can save a step. If the door is failing on the opener side and the door itself is fine, we may route the call to opener work instead – our garage door opener repair team handles motors, sensors, remotes, and smart-home integrations across all the major platforms.
Common Mistakes to Avoid
- Ignoring the bottom seal until winter. The seal is the first line of defense against cold air and moisture. In Nampa, a cracked seal in October turns into a frozen draft by December. Replace it in fall, not when you notice the cold.
- Lubricating the tracks. Tracks should stay dry. Grease on a track turns into a dust magnet, and rollers that should roll start to slide.
- Spraying WD-40 on nylon rollers or hinges. WD-40 is a solvent, not a lubricant. On nylon rollers it accelerates cracking; on hinges it runs off within a week.
- Adjusting the torsion spring yourself. This is the biggest safety risk on the entire door. Springs and cables are under hundreds of pounds of tension – this is not a DIY job, and no amount of online tutorials changes the danger.
- Skipping the balance test because “the door still opens.” A door that opens fine can be badly out of balance, quietly wearing out the opener, hinges, and rollers. By the time the door stops opening, the repair is usually much larger.
- Not writing anything down. Memory does not preserve a maintenance history. A written log turns every future call into a faster, more accurate diagnosis.
- Calling only when something breaks. Emergency repair is more expensive and more disruptive than scheduled service. The point of a schedule is to avoid the emergency, not react to it.
See the difference
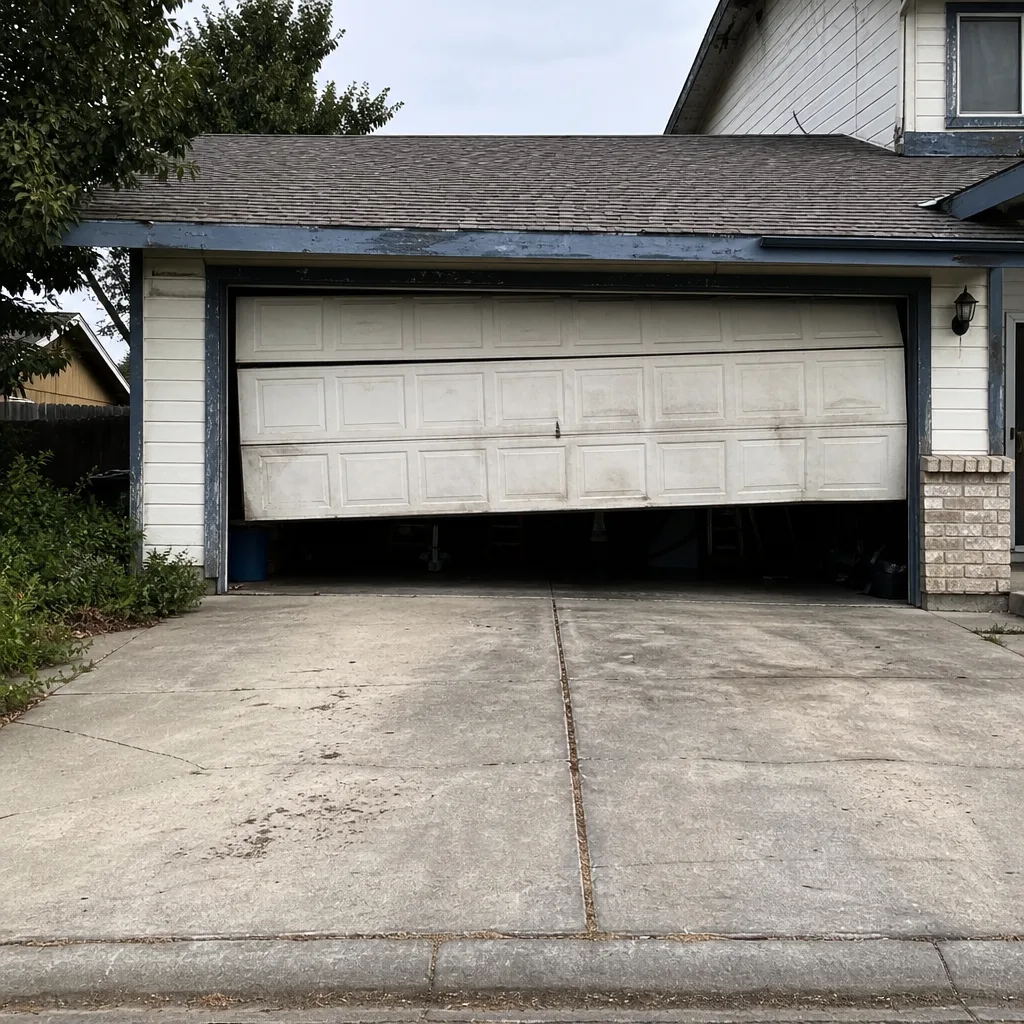 Before
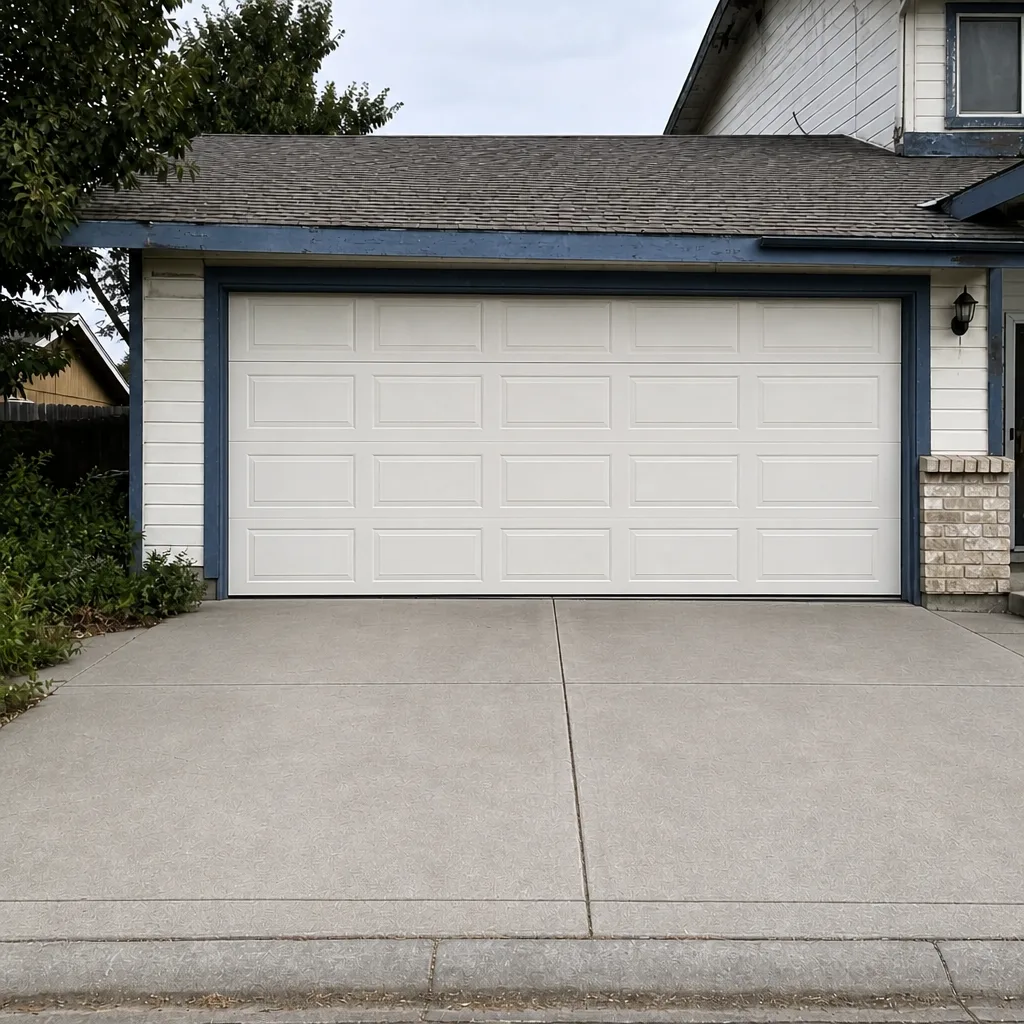 After
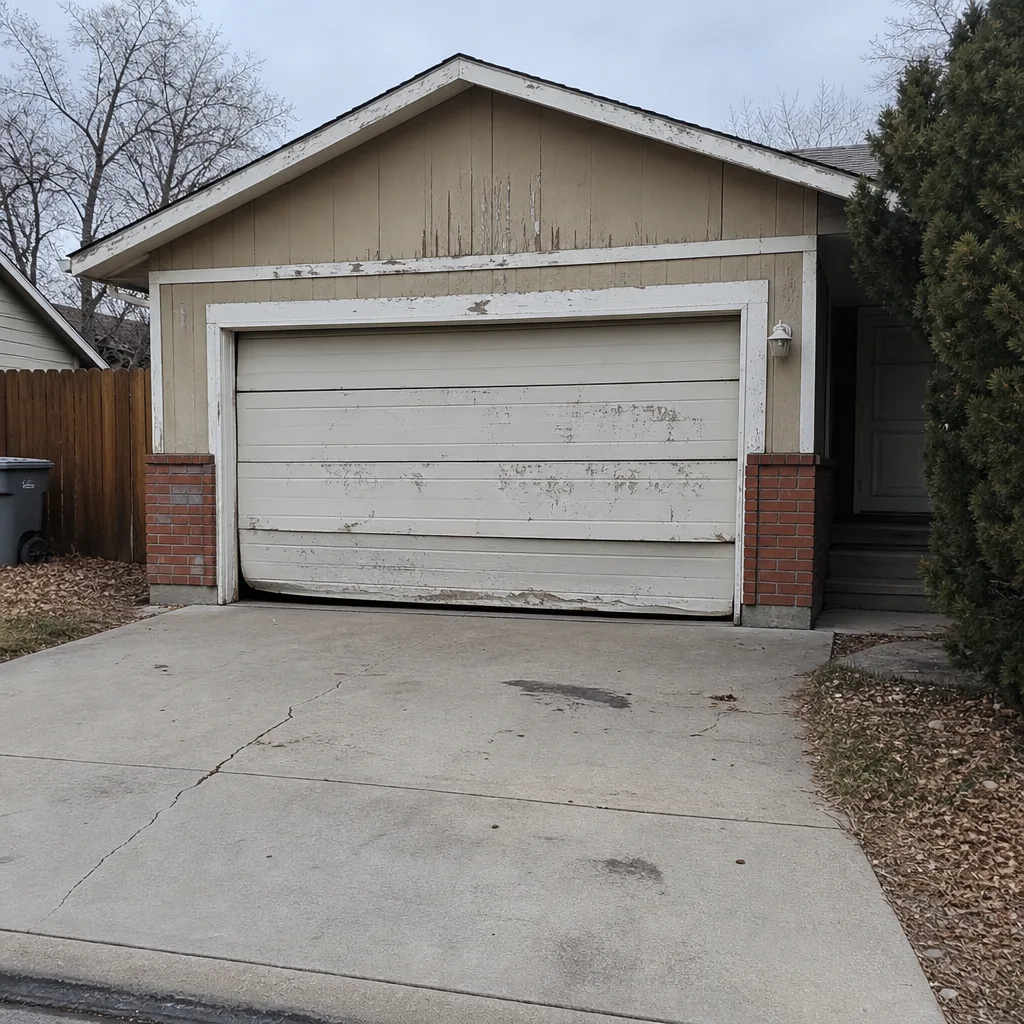 Before
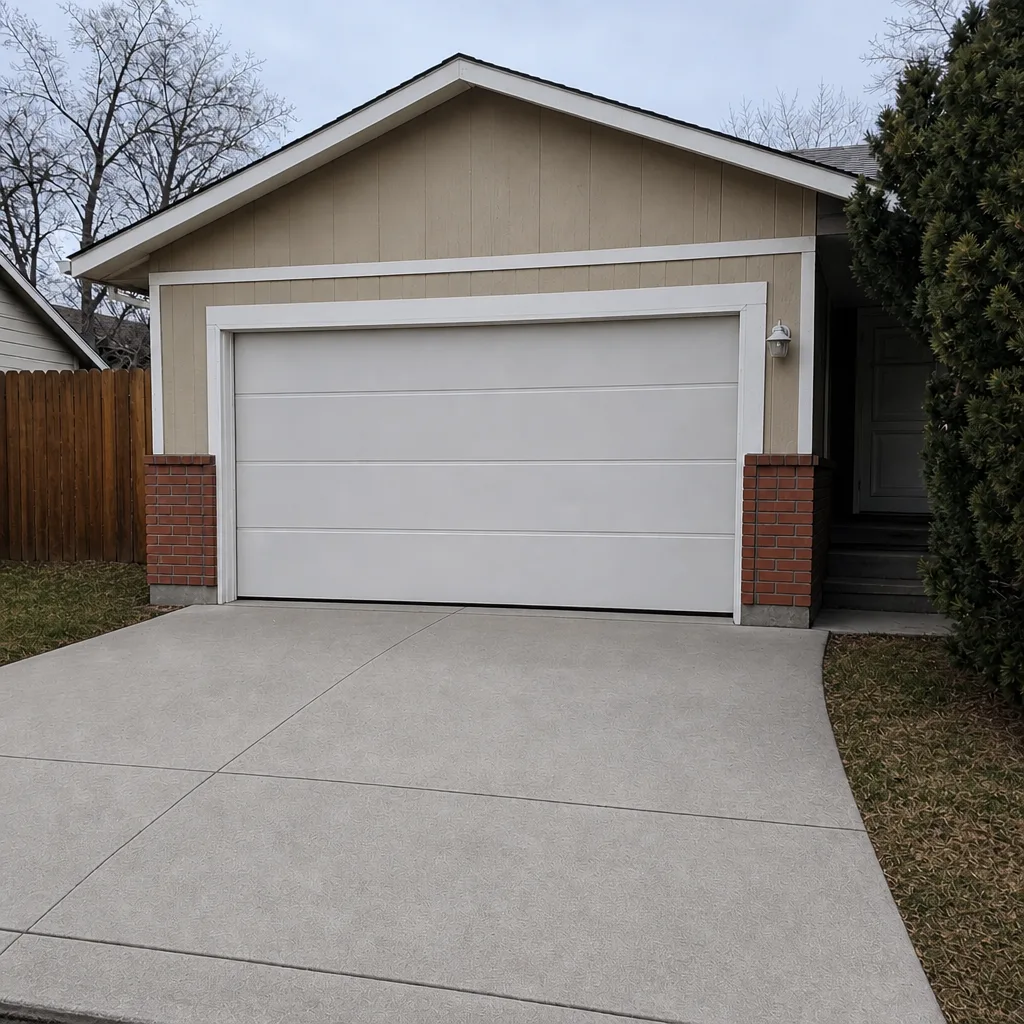 After
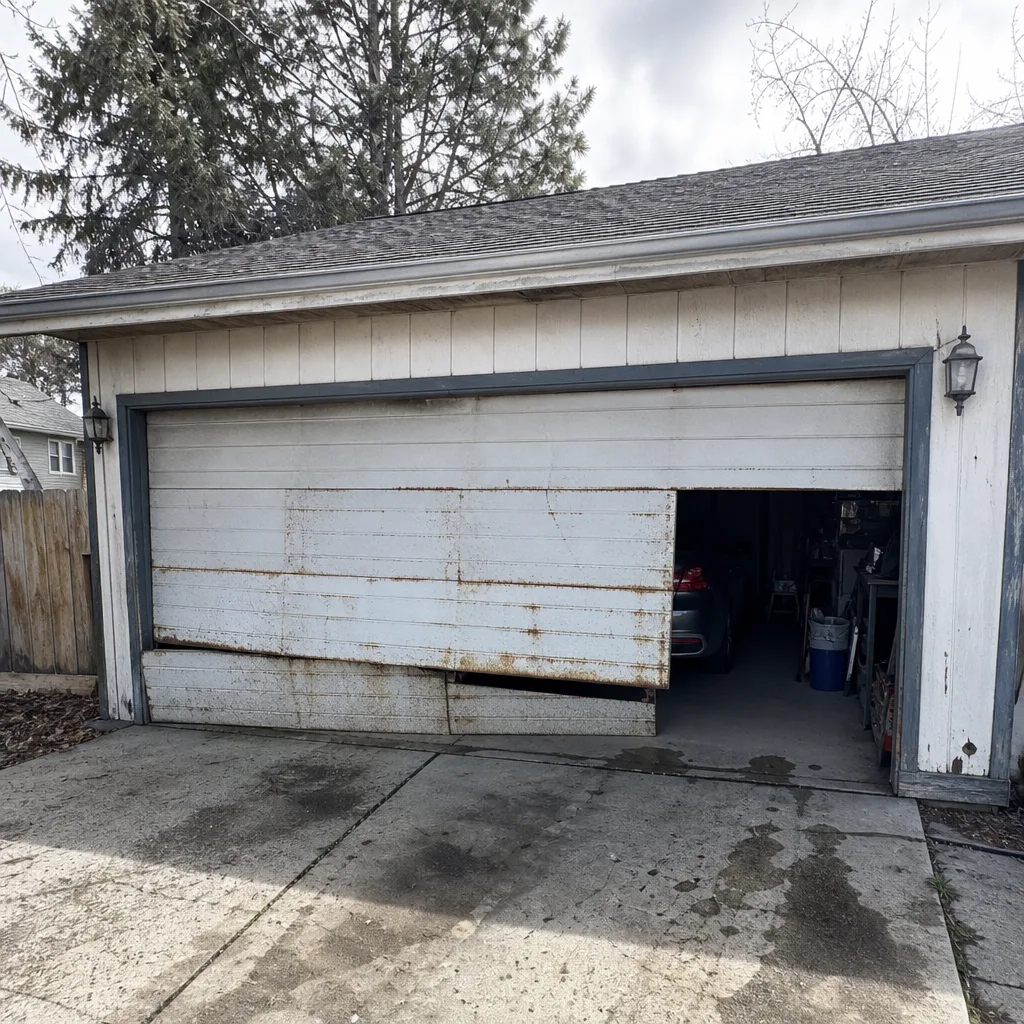 Before
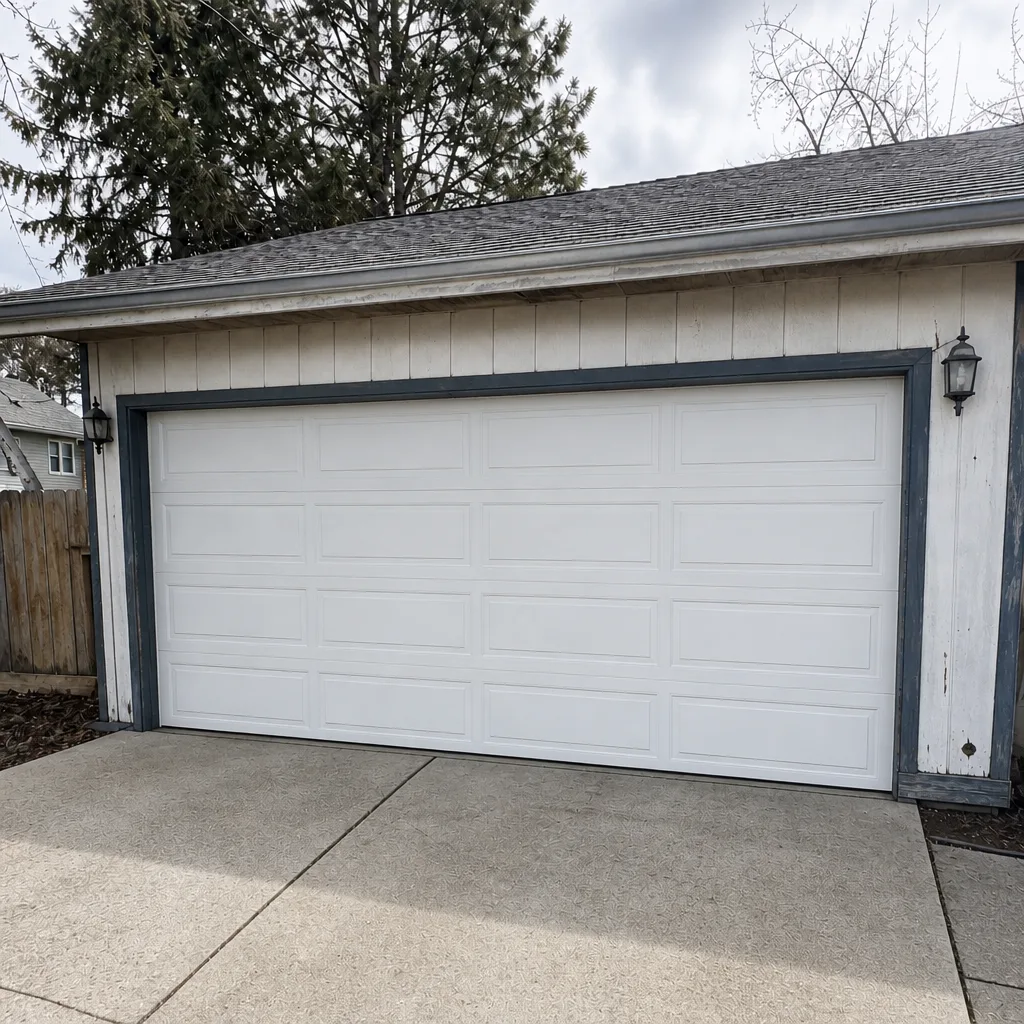 After
When to Call a Professional
Some tasks belong on your maintenance list. Others belong on a technician’s work order. Call a professional when the door won’t close evenly, when the opener hesitates or runs past the limit, when you see a frayed cable, when a spring is visibly stretched or has a gap, when the door is off its track, or when any safety reverse test fails. If you hear a bang from the garage followed by a door that won’t rise, that’s almost always a broken spring – don’t cycle the door again.
Nampa Garage Door Service offers free estimates in Nampa – call (866) 942-7318. We answer 24/7, fast dispatch from 7am to 7pm, Sunday through Friday. Our technicians have up to 12 years of experience, and garage doors are the only thing we work on.
Frequently Asked Questions
Once a year for the professional balance test, with monthly visual checks and quarterly lubrication in between. Nampa’s seasonal shifts – cold snaps in fall, dry heat in summer – make the fall and spring passes especially valuable, but the core schedule holds year-round.
A standard torsion spring is rated for about 10,000 cycles, which usually works out to somewhere around seven to ten years for a typical household, depending on daily use. If you open and close the door four or more times a day, expect that figure to be closer to the low end. Call (866) 942-7318 for an exact estimate – estimates are free.
Yes, for hinges, roller stems, springs, and the opener rail – those are safe to lubricate with white lithium grease or a light lithium spray. The parts you should never touch are the torsion springs and cables under tension. Those require a trained technician.
Cold thickens grease and contracts metal, so both the moving parts and the springs do more work. A fresh lubrication pass in November and a check on the bottom seal before the first freeze usually solve it. If the door still hesitates in cold weather, the springs may be near the end of their cycle life.
The annual balance test, because it’s the only check that catches spring wear before it becomes a broken spring. The monthly visual check and quarterly lubrication are important, but they won’t catch a spring that’s silently losing tension. Call (866) 942-7318 to book a balance test – estimates are free.
No plan is required. A written log, a monthly glance, and a quarterly lubrication pass will carry most doors, with the annual professional visit filling in what homeowners can’t safely check. We don’t sell a maintenance membership – just the work you need, when you need it, priced by written estimate before we start.
The Bottom Line
A garage door maintenance schedule isn’t one annual visit – it’s a tiered system keyed to how fast each part actually wears. Springs need cycle math, seals need seasonal timing, sensors need a summer check, and hinges need a quarterly grease. In Nampa, that timing has to move with the climate: fall for weatherstripping, spring for lubrication, summer for electronics, winter for a final sweep. Write it down. The log is half the value. And when something fails a check, or when the door tells you it’s due, call the specialist rather than waiting for the next slot on the calendar.
Garage doors are all we do – repair, opener repair, and installation – across LiftMaster, Chamberlain, Genie, Clopay, Amarr, Wayne Dalton, Craftsman, and Raynor. If you’re ready to put a real schedule on your door, call (866) 942-7318 for a free estimate. We answer 24/7, fast dispatch from 7am to 7pm, Sunday through Friday, and we’ll quote the price before any work starts.
To learn more about what we handle day to day, see Nampa Garage Door Service.
Written by the team at Nampa Garage Door Service.